Opening up the BNP turn, one of the lead comboints runs slobbering to one of the fresh corpses. What is it doing?
Oh good King, it's eating him!
Wait, something strange is happening over at the comboint hive...
https://www.youtube.com/watch?v=cAfmVDg ... 2&index=13
As the existing comboint feeds, the hive births out a fresh one. It's headed straight for the ongoing battle! How is this biologically possible!? Only Koincidence could essplain it...
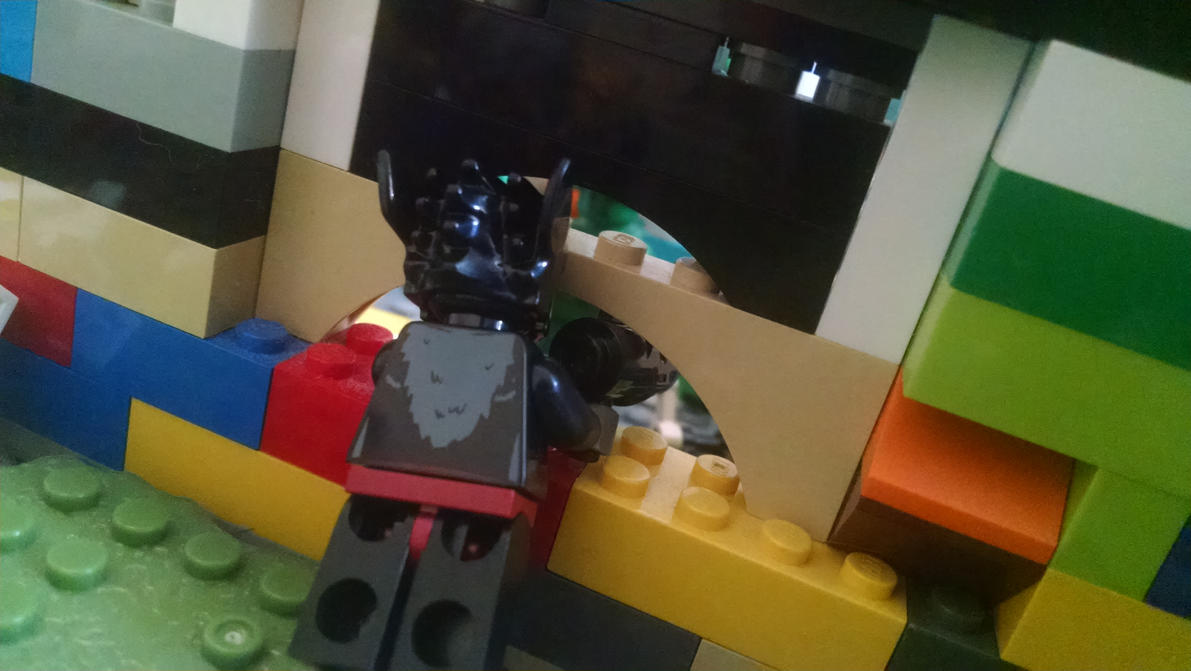
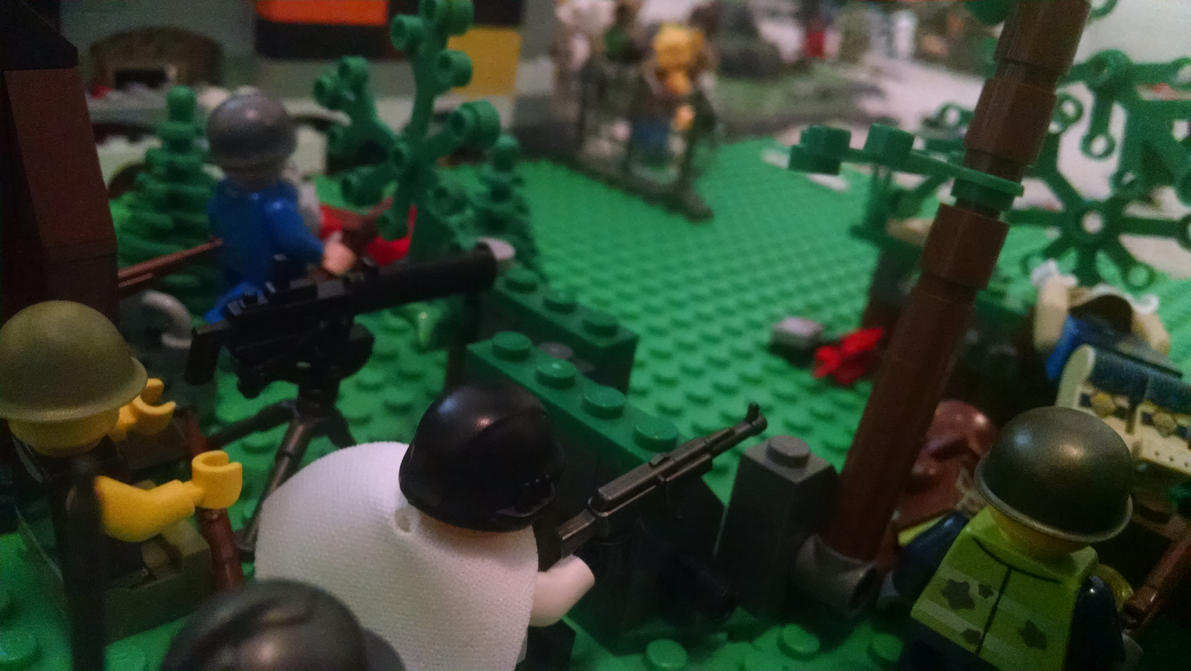
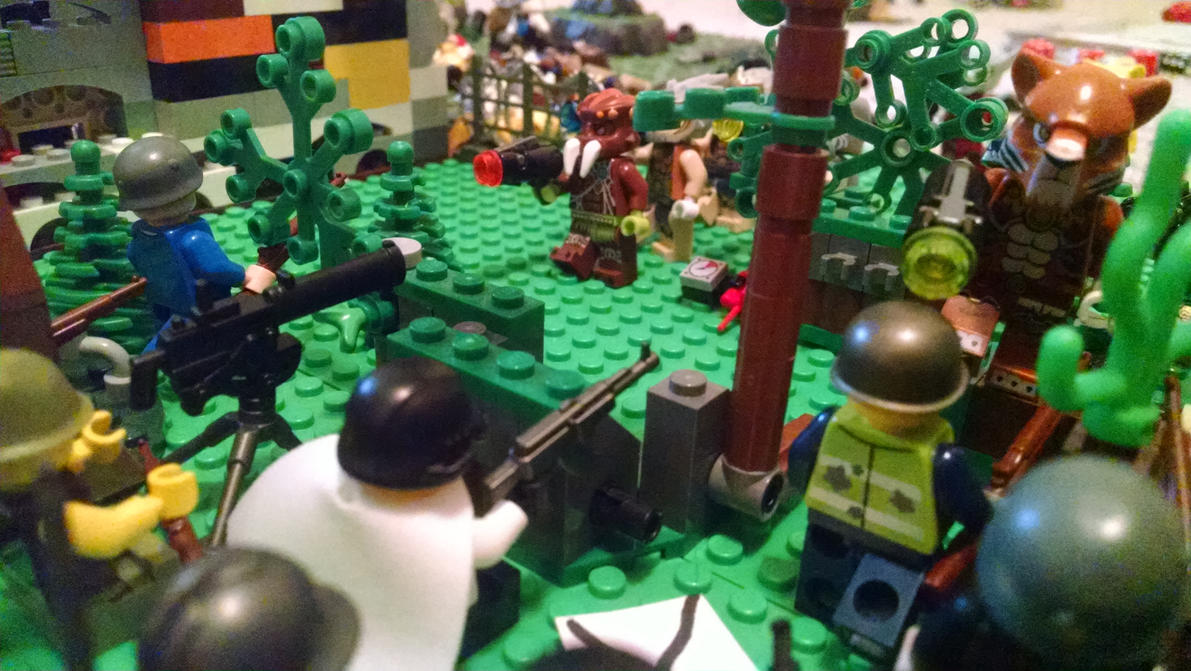
A combint tries to rush into one of Ridgeway's fire ports, but before it reaches it rifle fire lashes out and blows the thing back!
As the comboints near the walls, some fire their plasma-pulse guns up at the defenders.
They're poor shots, but their numbers let them send up so much firepower that a few are bound to find their mark.

The comboint gunfire sends this second-to-last Pangou militiaman careening backward off the wall.
As the blaster shots hit his body he lets out a Wilhelm scream.
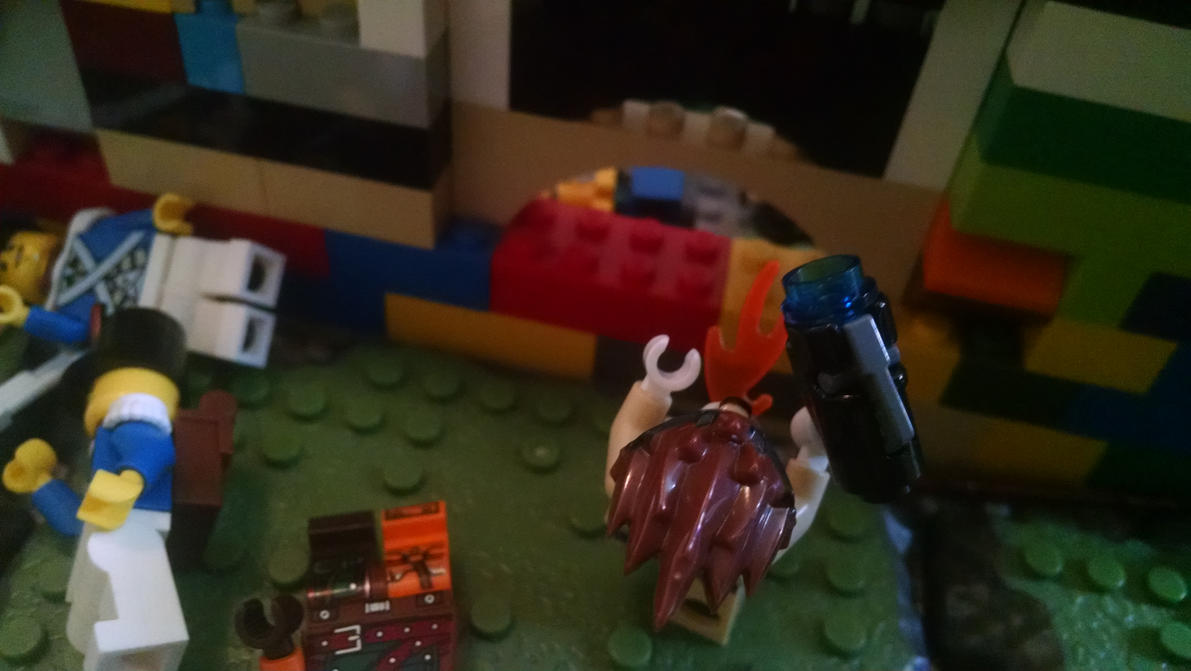
Over at the other fire port on the east wall, a black comboint tries to force its way in.
Its ambitions to feed are denied by Veridian reaction fire.
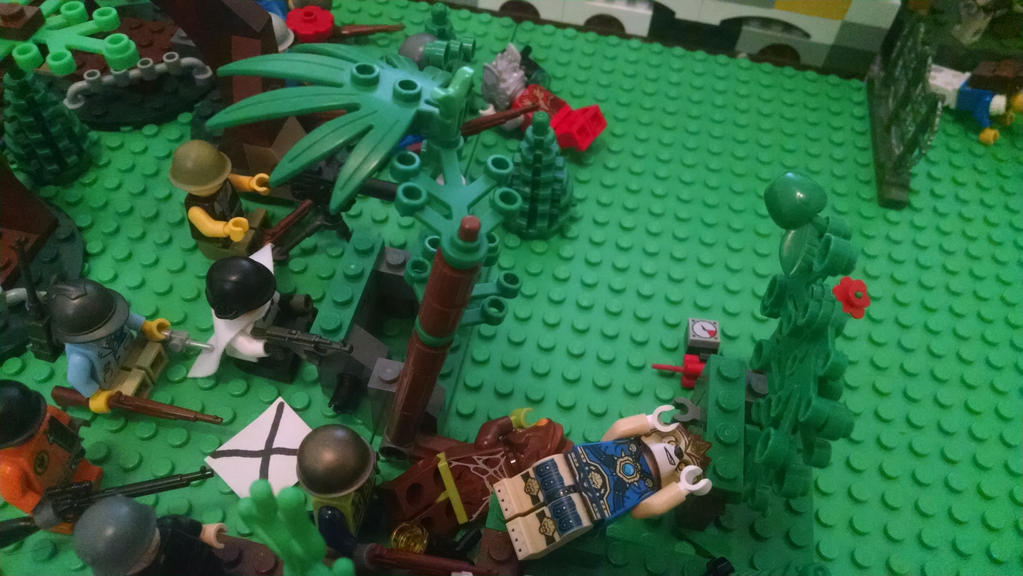
As the comboints rush the Durdedotte position south of the fort, the militia cut the first few down with rifle fire.
The men brace themselves for another wave of the monsters.
he fist comboint of the second wave runs right into the sights of the waiting anti-tank rifleman.
He does not miss, and explodes the thing's body into a gory fountain with a "crah-KOOM" heard across the battlefield.
Yet the Durdedotte soldiers have expended all their reaction fire, and the remaining comboints make their sweeping advance.
They're just one turn away from getting to tear the militia troops to pieces.
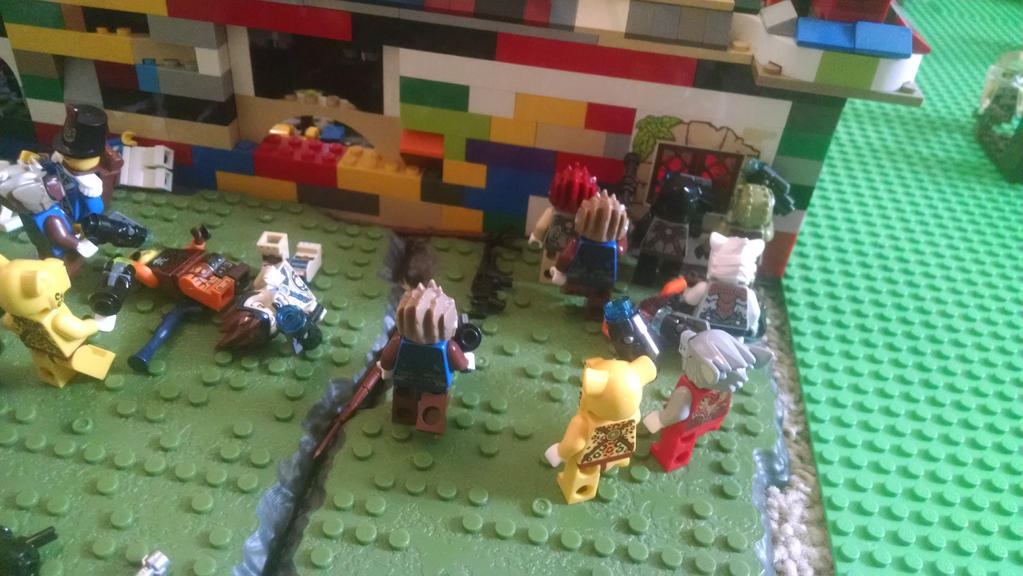
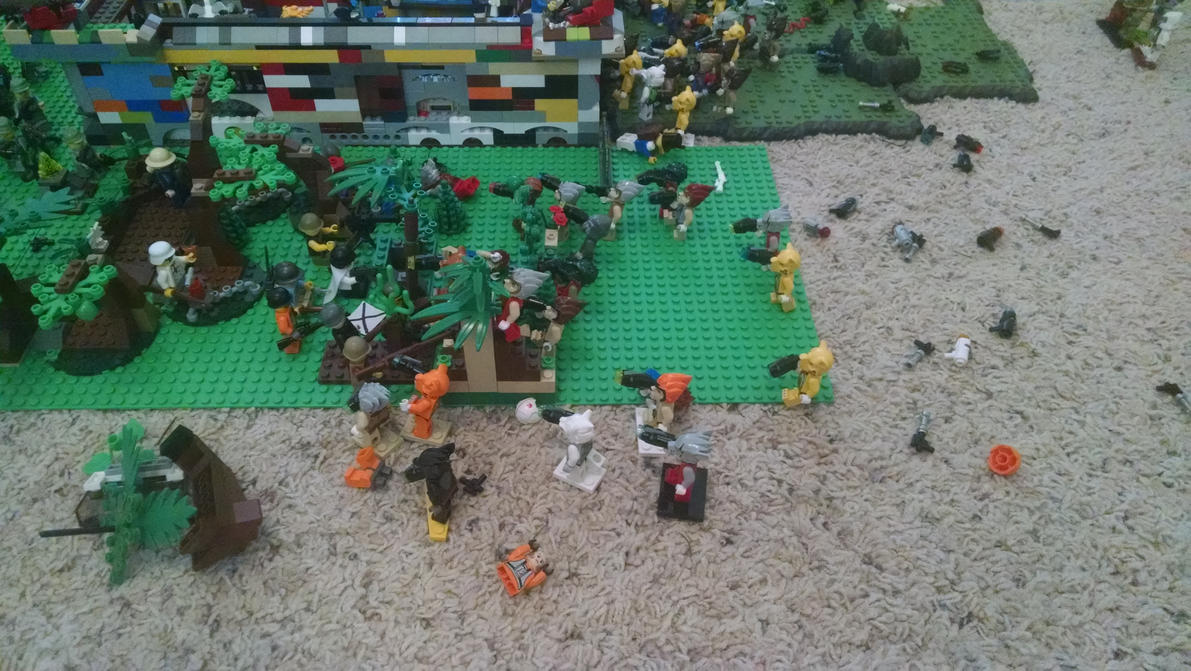
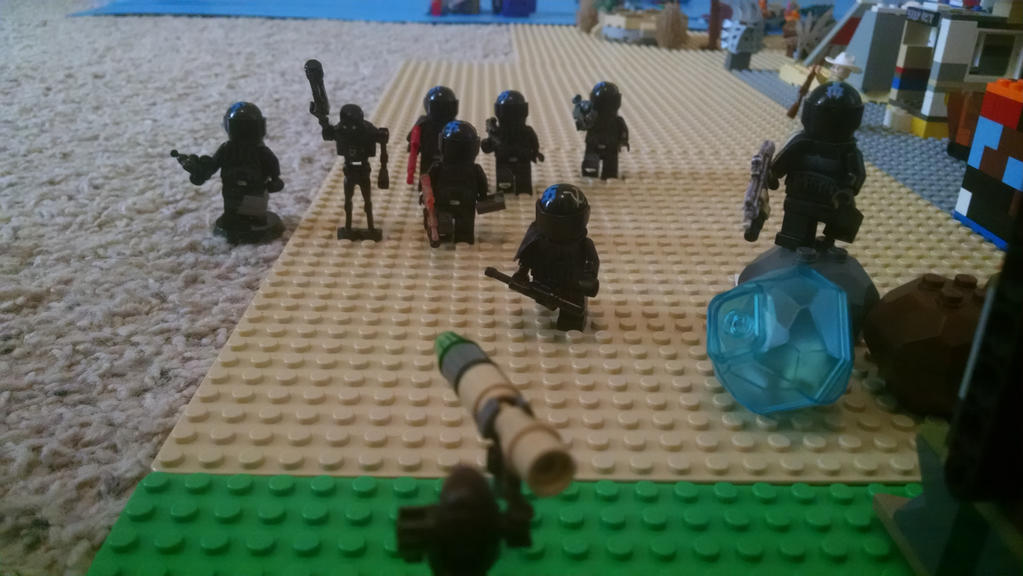
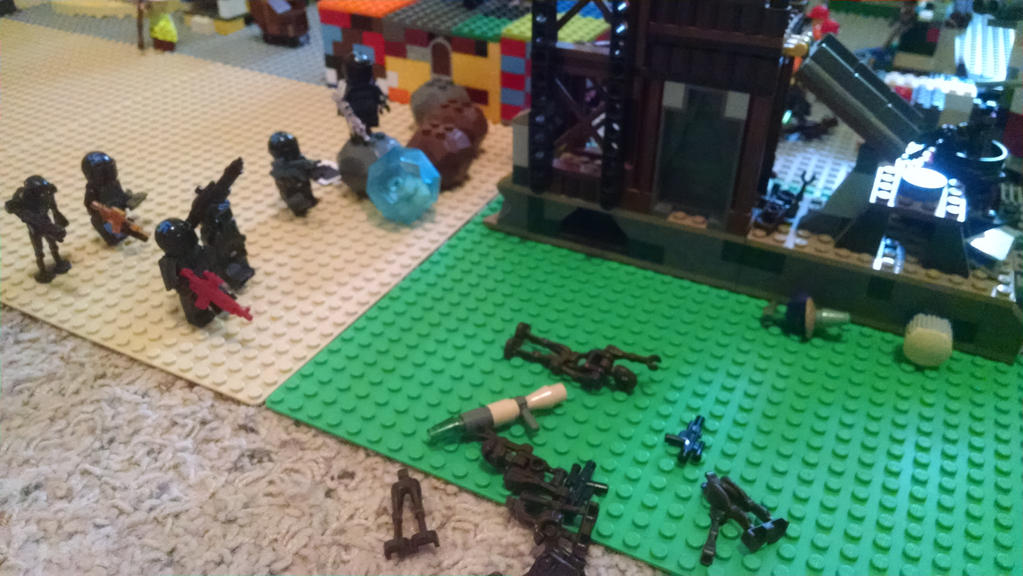
All along their battle line the comboints advance upon Fort Ridgeway's defenses. Some feast upon the dead as they move up.
Their feeding causes an extra five creatures to be born. They instinctively head for the rest of the horde.
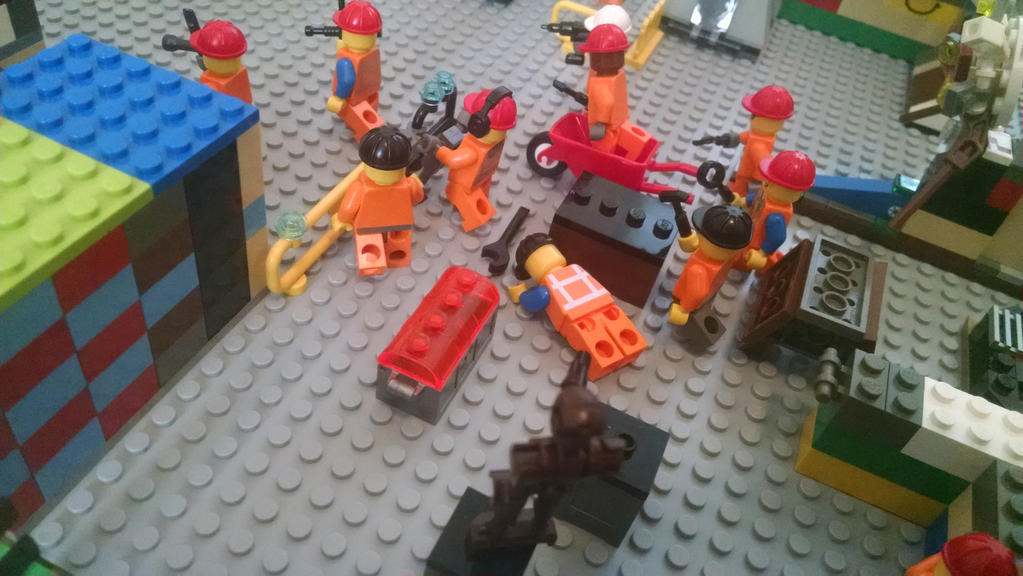
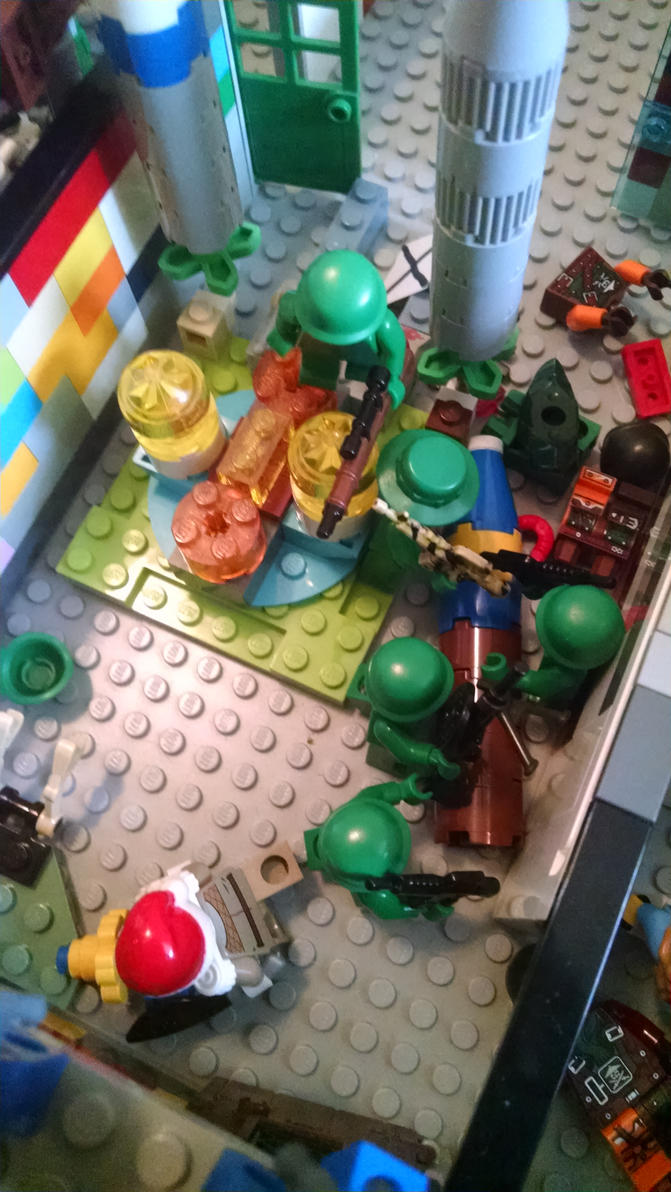
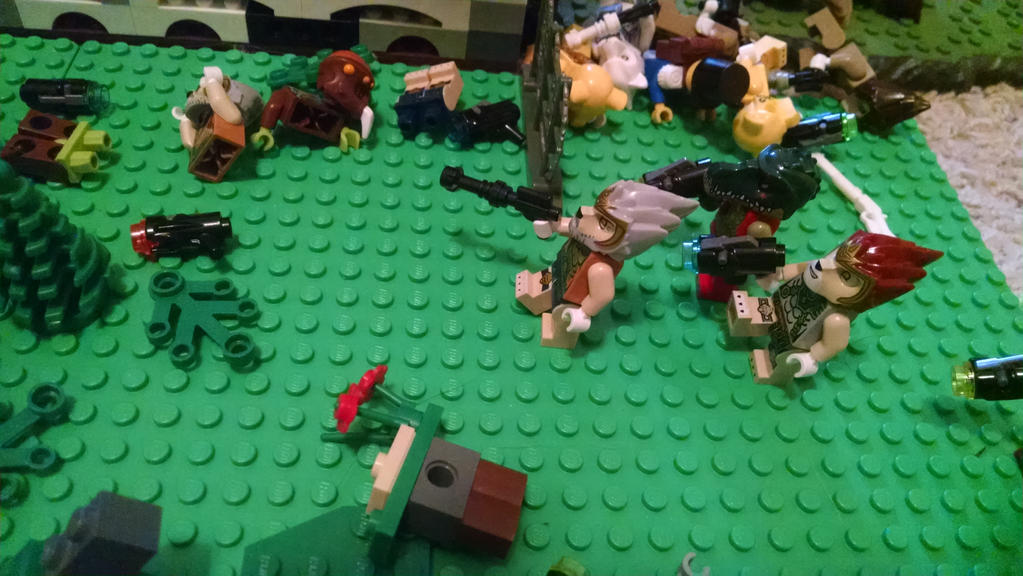
One of the surviving two commando automatons jumps onto a crate and shoots into the fleeing workers.
The closest one is cut down.
Meanwhile the other commando robot aims its rocket launcher at the Cancellor Minors!
(Not photographed because boring: The rocket does absolutely nothing...)
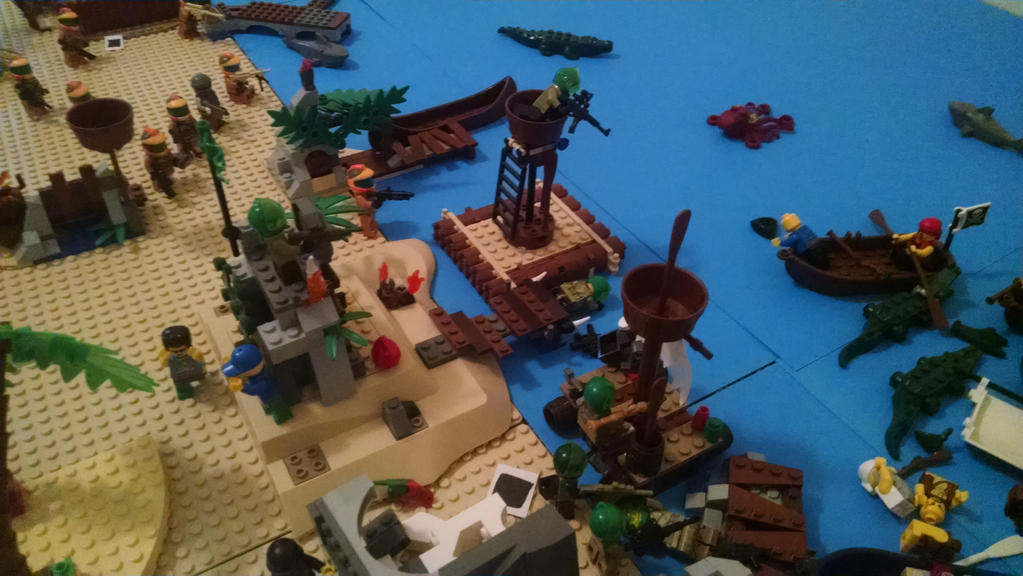
Over by the docks, one ranger lets loose with a grenade launcher as the buccaneers get within range.

All but the rower die in this boat from the rain of shrapnel.
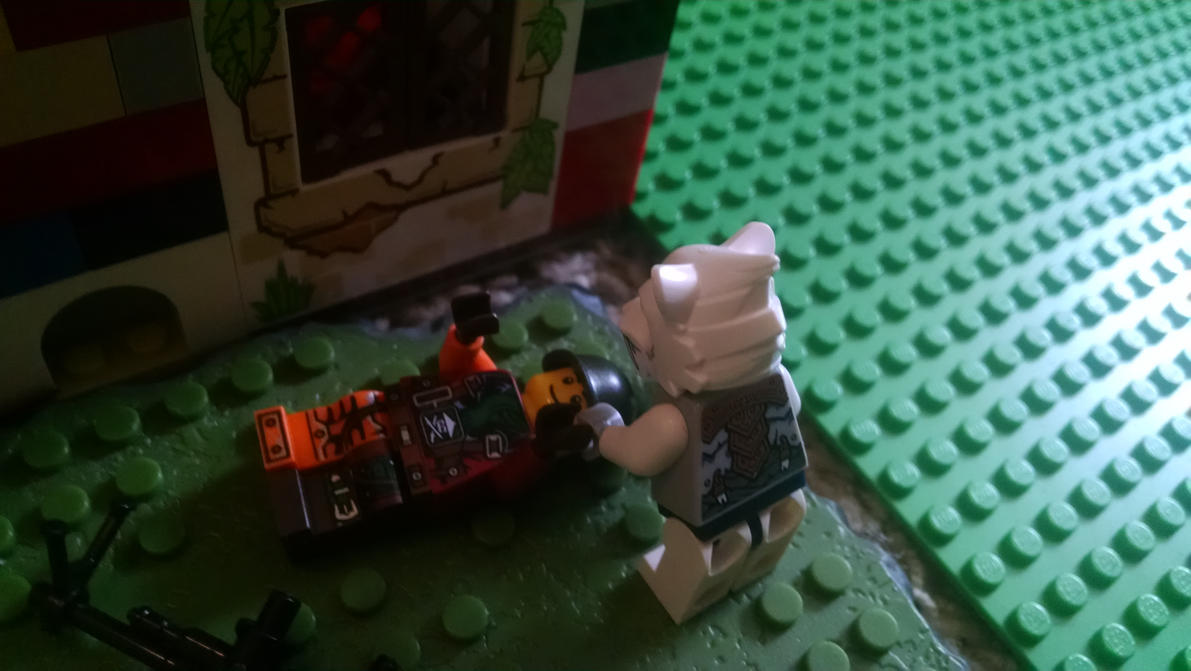
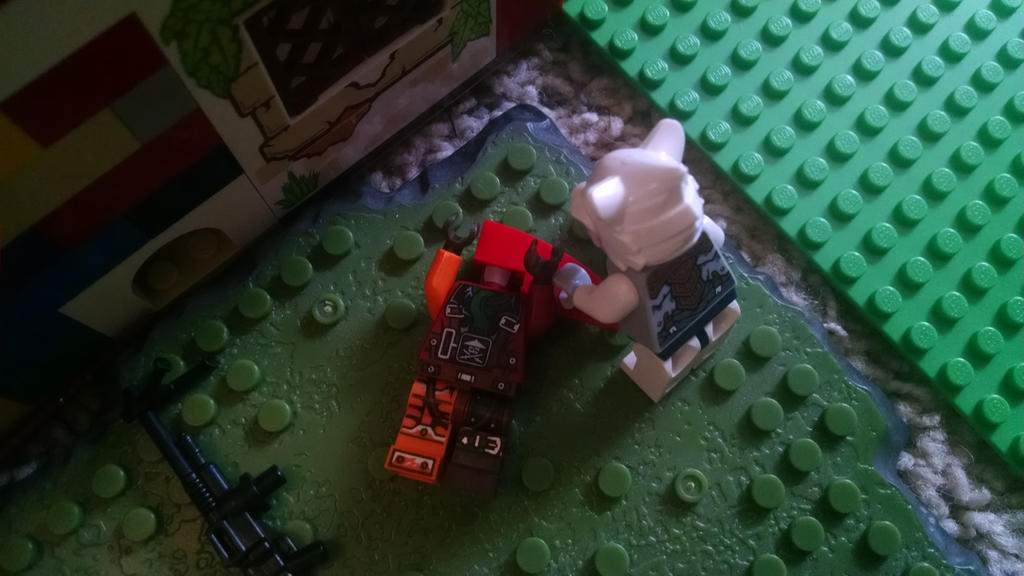
The last intact Partisan technical aims its cannon at the dock defenders.
The shrekkening cometh for that skull cave thingy and the ranger hiding in it as the technical's shot blasts them apart.
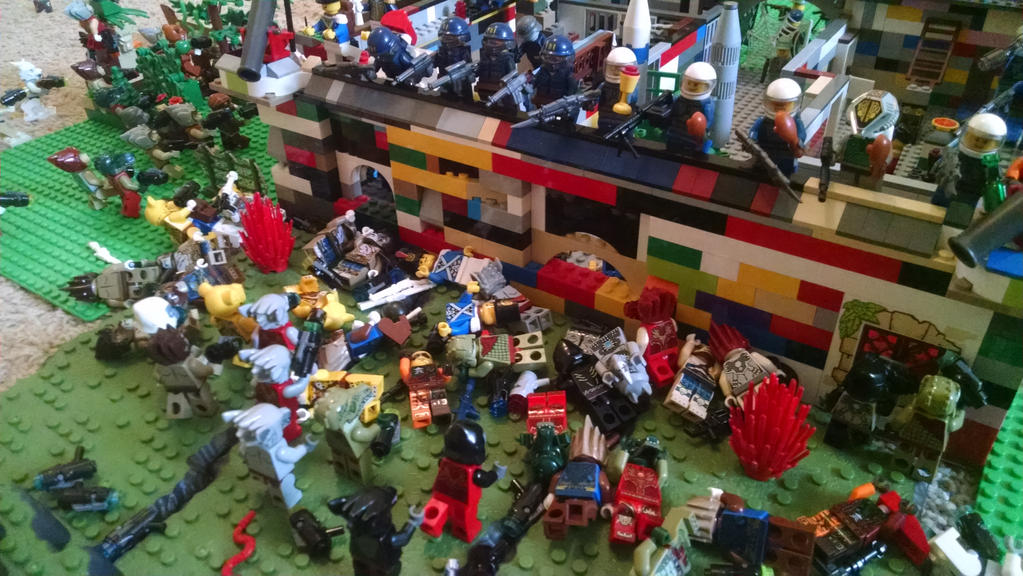
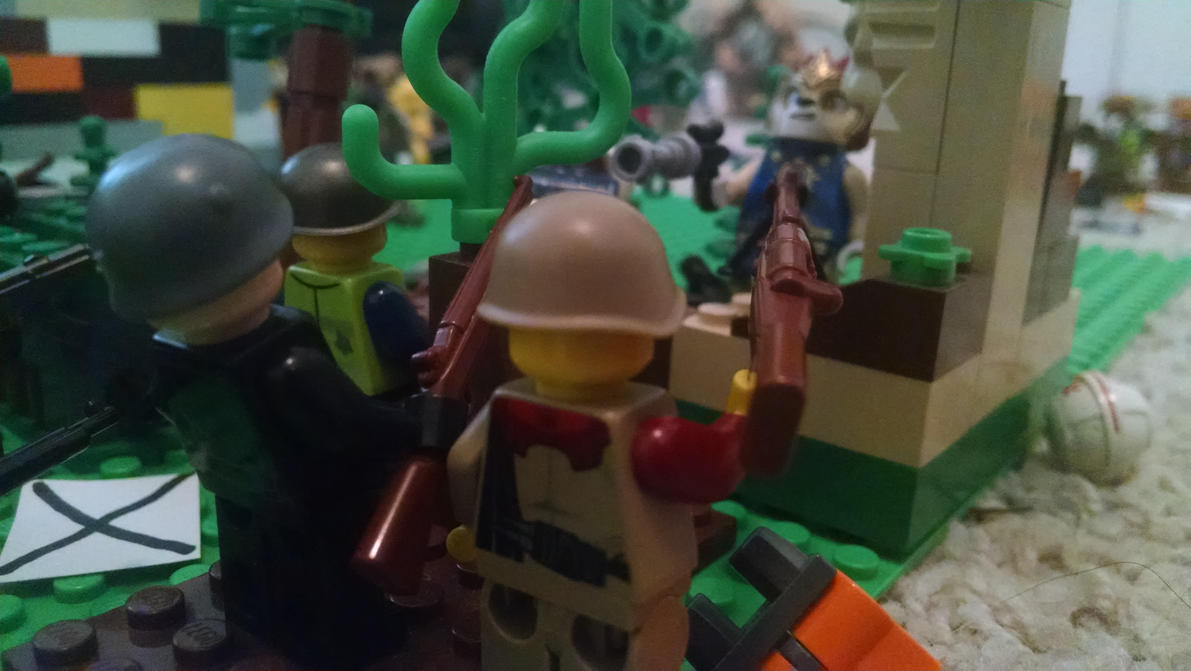
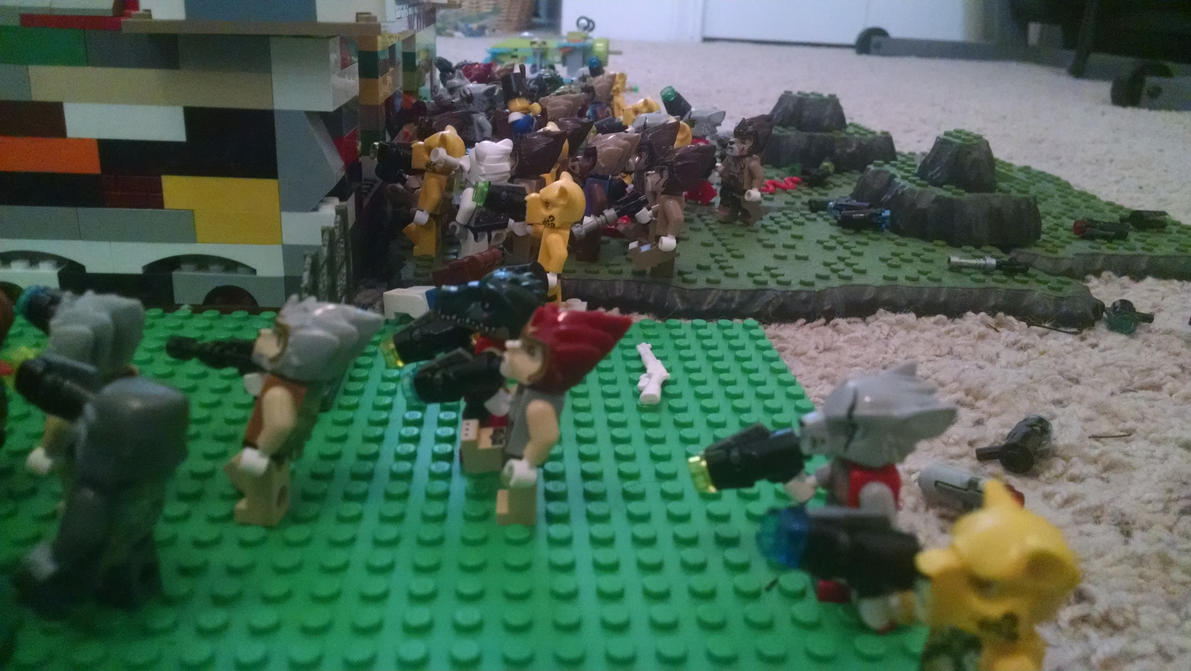
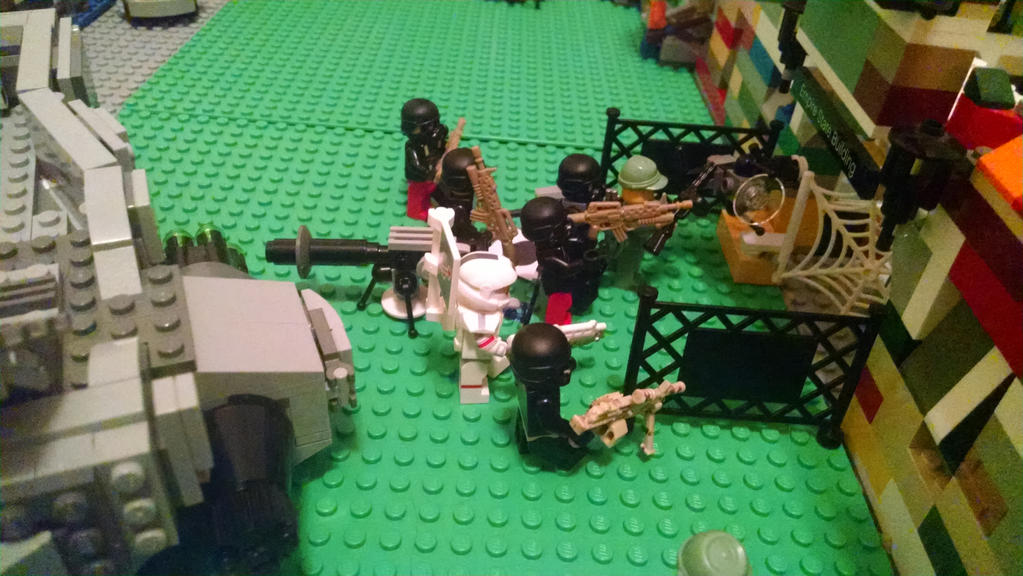
It's the start of the Federalists' turn and an utter bloodbath is underway in front of the east wall.
Rifles and machine guns join with the thunder of cannons to spew flying death at the comboints.
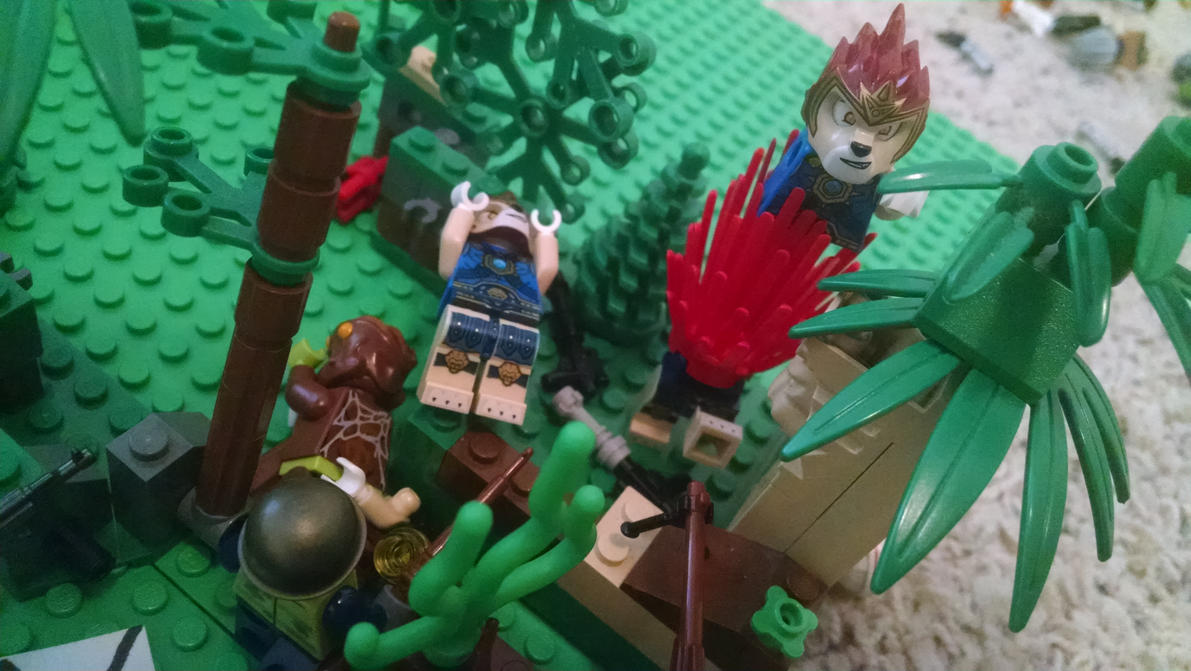
Inside the fort, Mannerheim attempted to use a heroic feat to get the Veridians to help him shove one of the fallen nuclear missiles into the blown-open fire port, intending to block the comboints' path.
It backfires, however, as the soldiers find the thing too heavy. As they waste their efforts trying to lift it they're totally exposed!
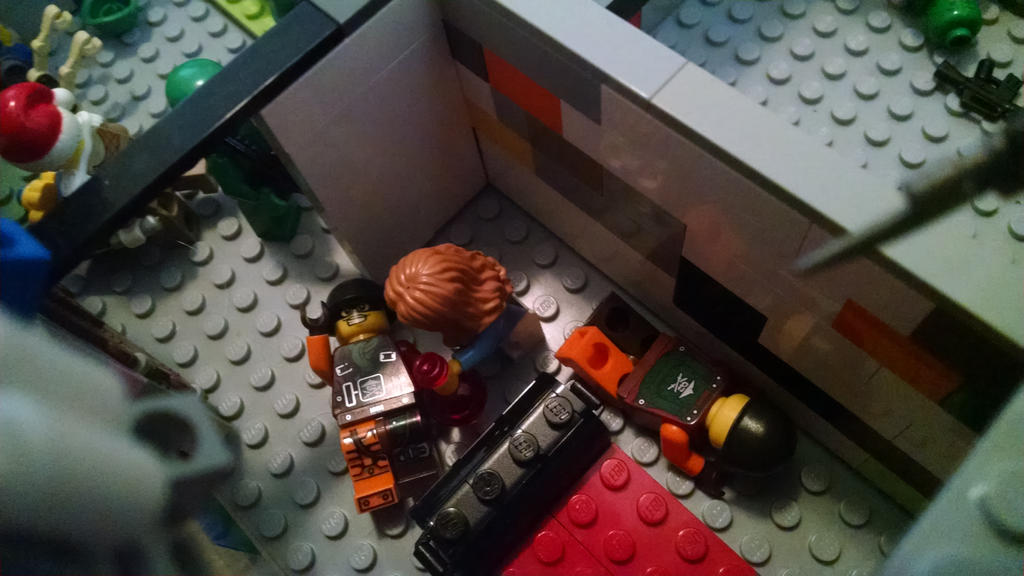
Inside her quarters the proselyte uses her healing potion on the two Pangou troopers who fell in from the walls.
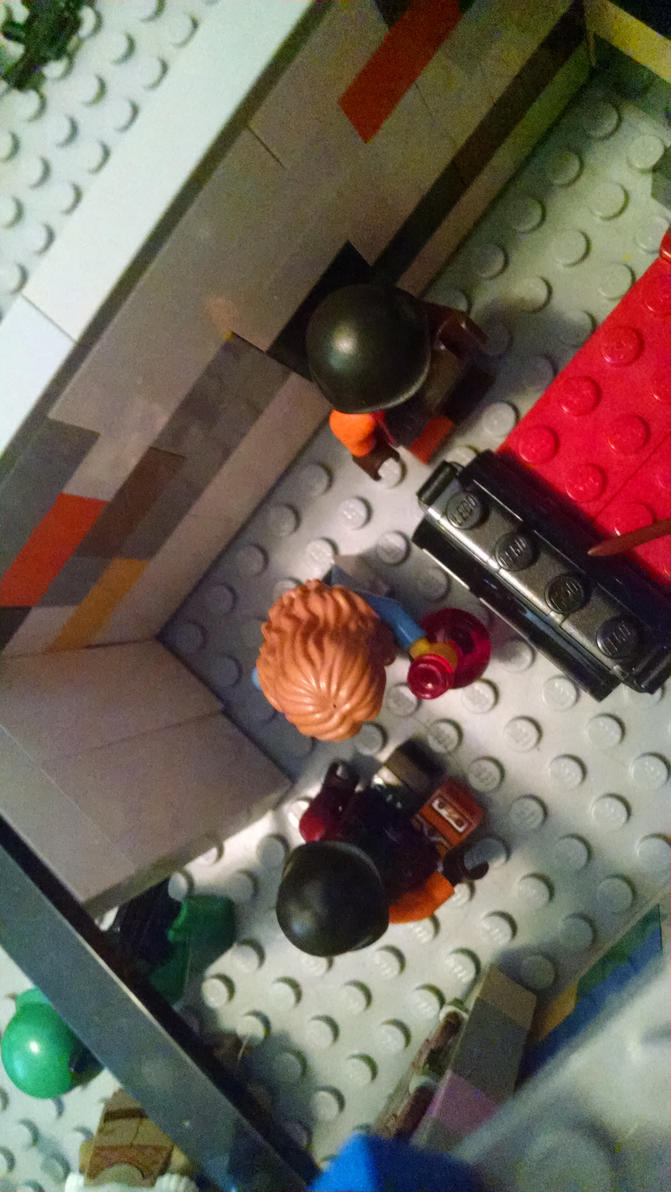
After a moment the two men sit up.
They're groggy and disrupted, unable to do anything this turn, but they're alive.
Meanwhile the Durdedotte contingent is on the edge of being overrun.
The squad leader in the white cape screams to the rifleman in the back he gave a special assignment to. "Fritz," he yells, "FRITZ! Trigger it now!"
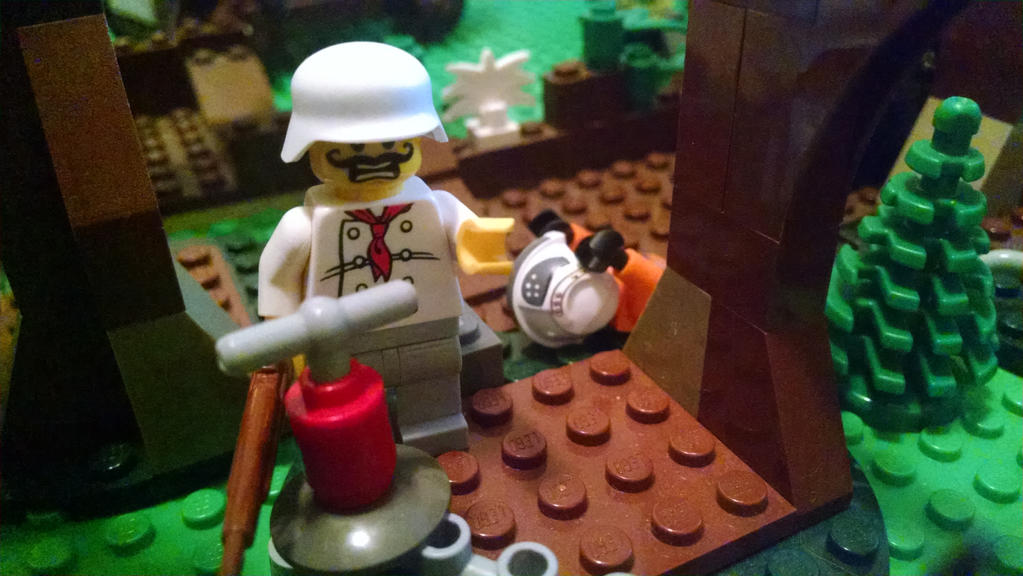
A terrified Fritz is too unhinged to reply, but he does reach for the detonator.

The comboints won't know what hit 'em.
The resulting explosion kills a few of the oncoming creatures.
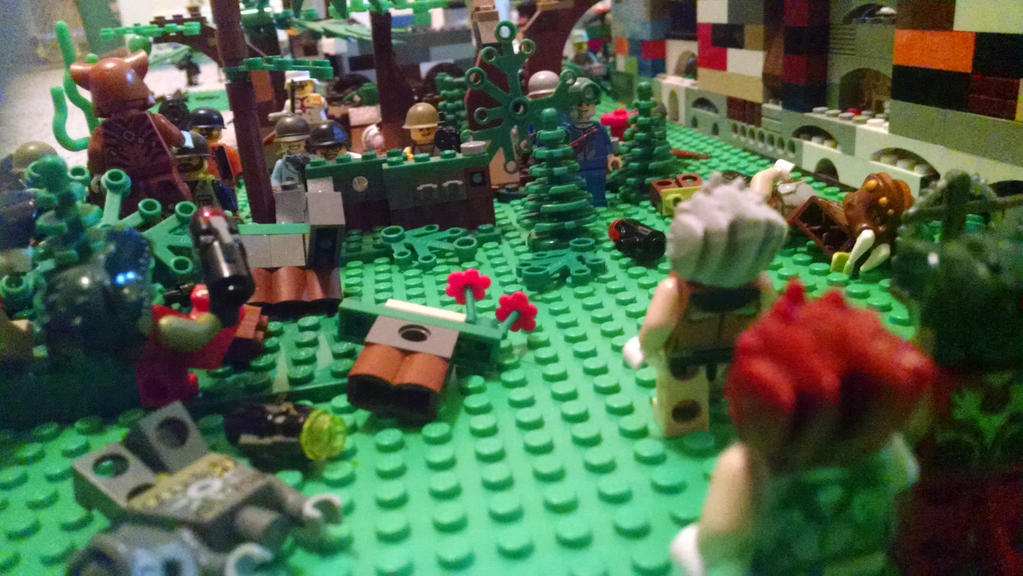
More importantly, though, the explosion clears some of the foliage that was obscuring the Federalists' line of fire.
Most of the Cancellor Minors move in and shoot down the robot with the rocket launcher.
One CM breaks off from the group to attack the robot killing the workers. His grenade launcher blows up the crates it stood on and sends it flying but fails to destroy it.
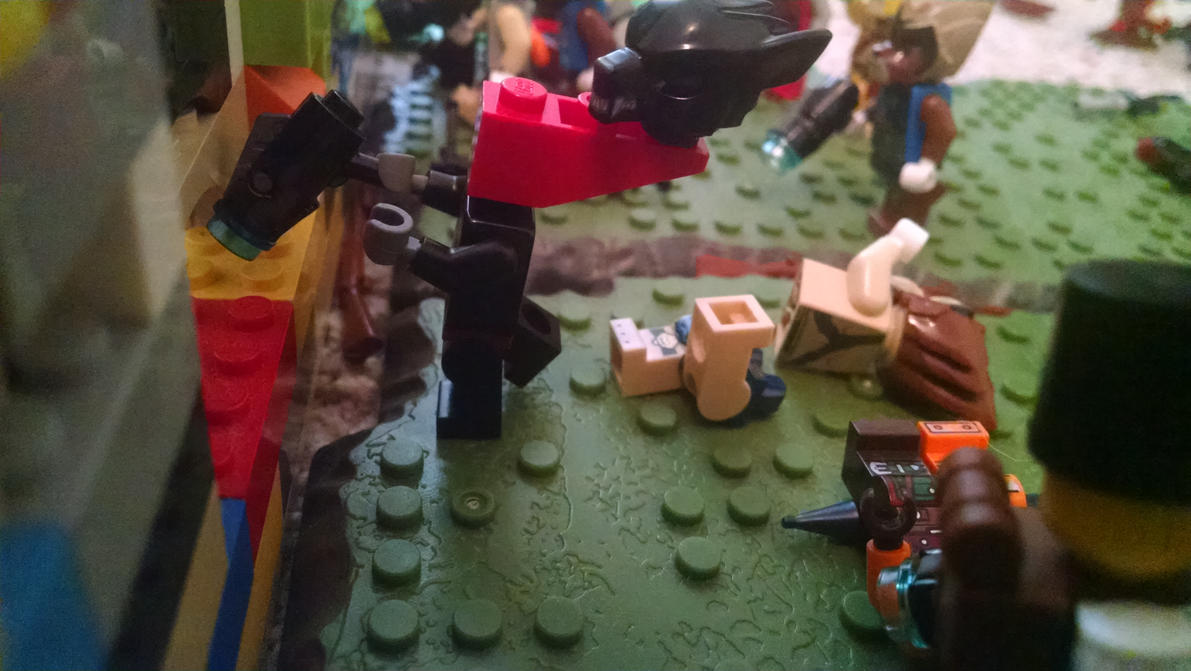
Agent Plex, on a roof overlooking the robot pursuing the workers, decides to personally intervene.
He raises up his sword for a precise and heroic toss.

Whoops!
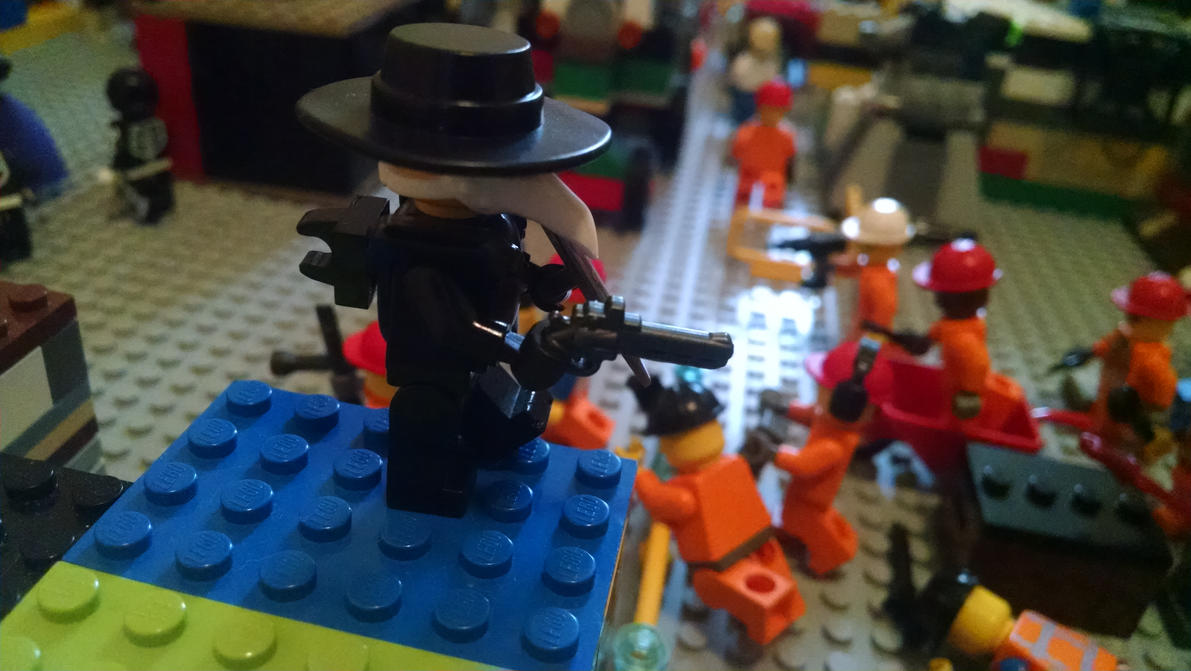
Oh well; it's moments like these that Plex carries a revolver for.
Plex's sidearm finally gets the job done.
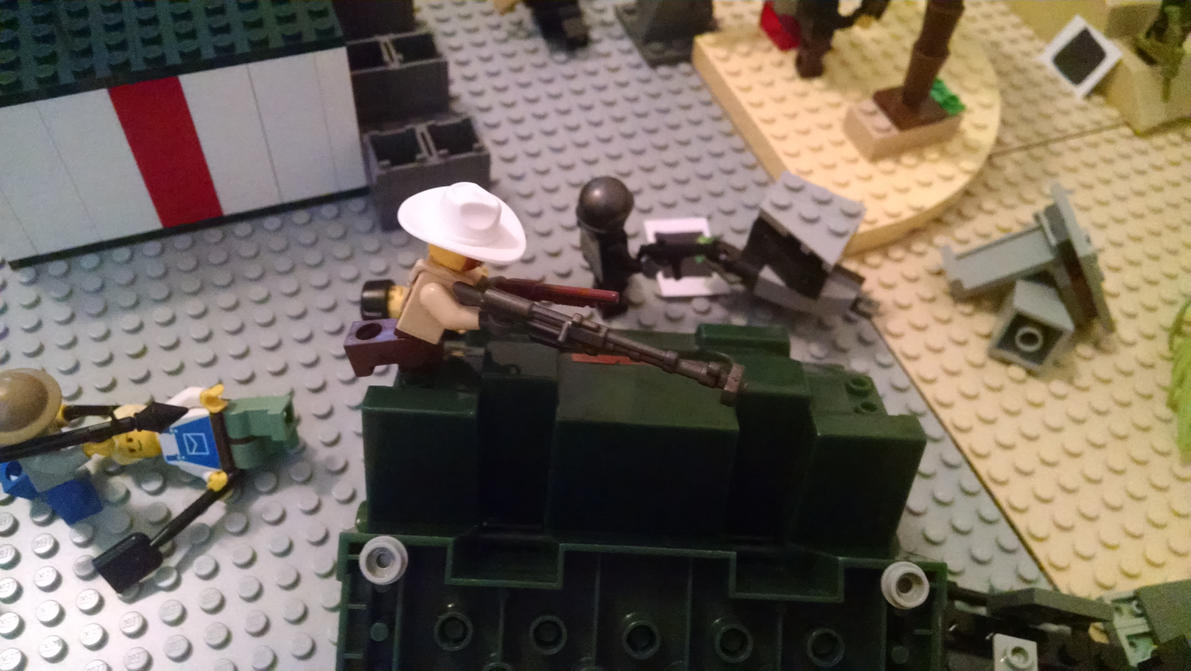
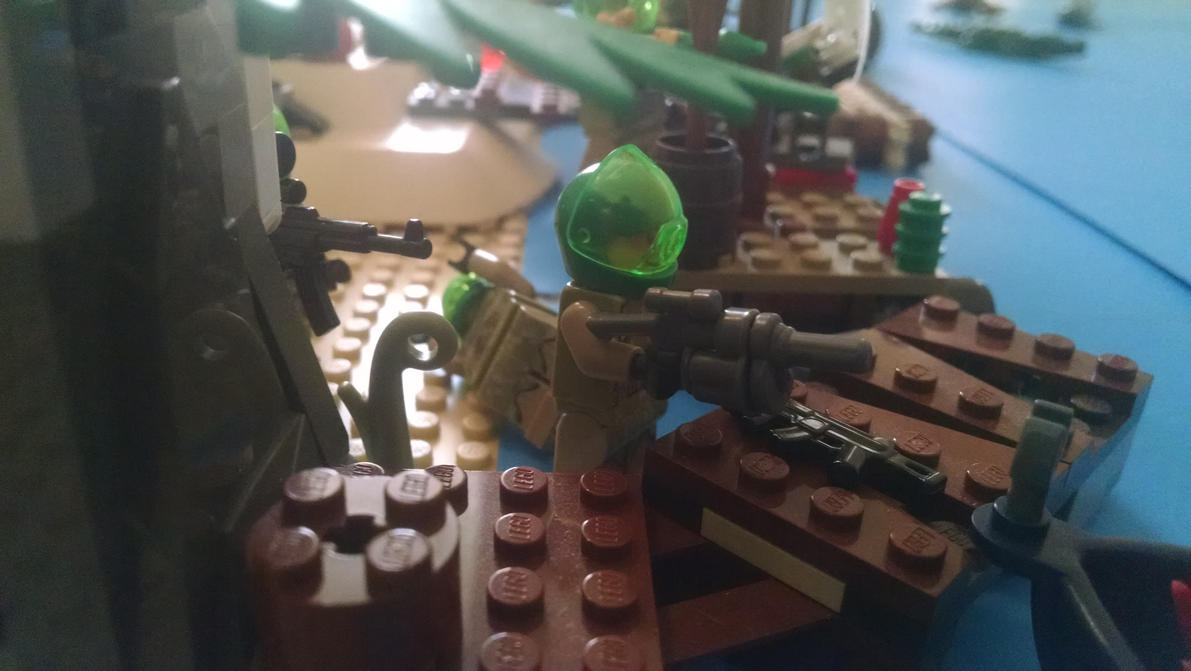
The Federal Marshal leaps into action, resting his AT rifle atop the overturned dumpster. He's aiming for the driver of one of the partisan technicals that had its cabin roof torn off.
Gottam!

From underneath the dumpster this police shotgunner crawls back into the battle!
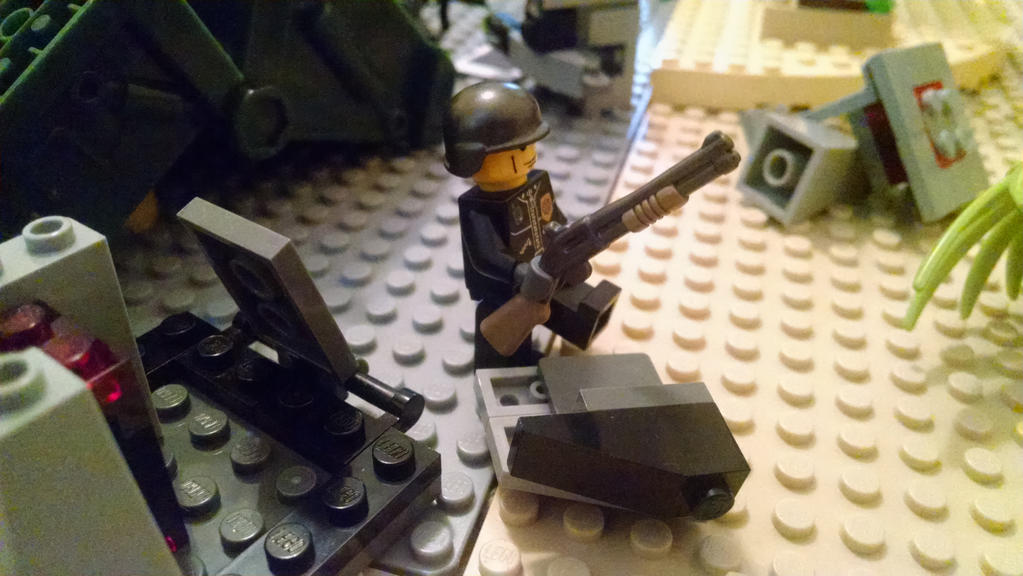
He moves towards the beachhead.
In this blurry photo that should've been reshot, the Federalist defenders are moving in to fire upon the buccaneers.
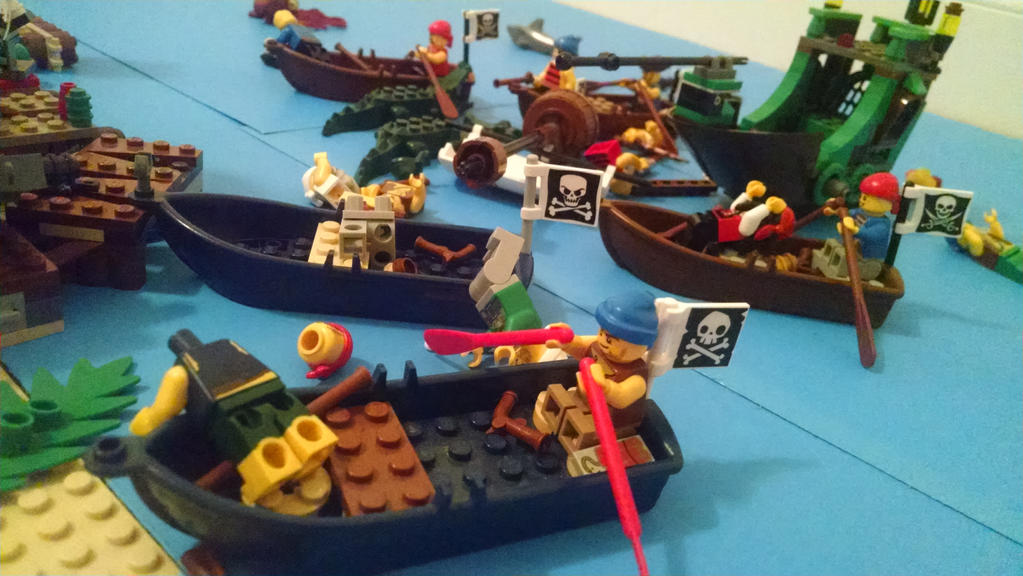
The hopes of the buccaneers seem to be dashed to nothingness under the weight of fire. More are now dead than alive!
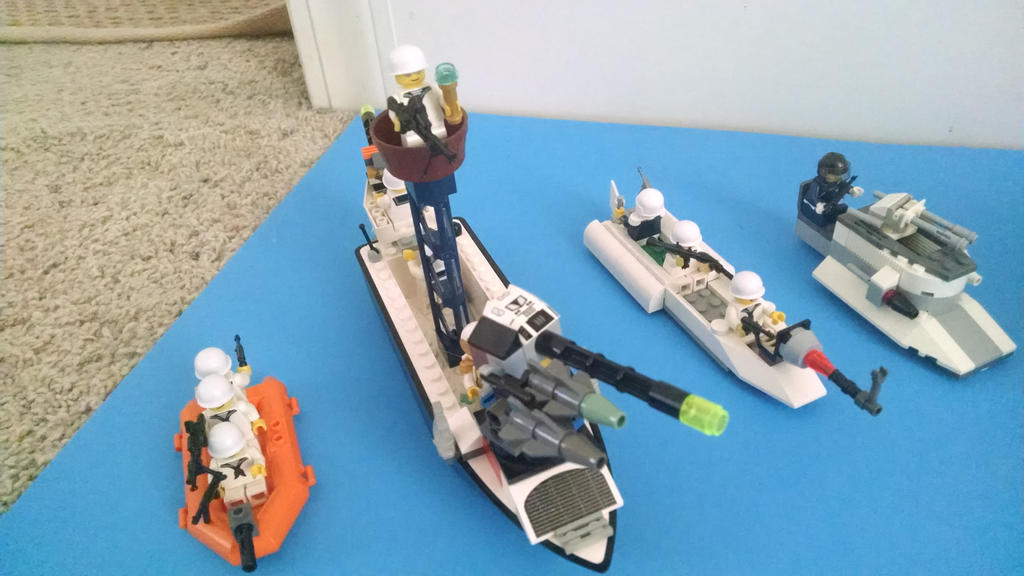
The buccaneers chances really are over now, for a Federalist naval task force just showed up. With a two-gunned cutter as flagship the little flotilla moves in to relieve the beach.
The spotter/machine gunner in the crow's nest of the cutter looks upon the chaos of Brickingrad. Mentally he's bracing himself for the carnage ahead.
Commanding the Federalist task force is Rear Admiral Bellendswood. He is equipped to fight in the style of an action hero but for now he mans the main gun of the cutter.

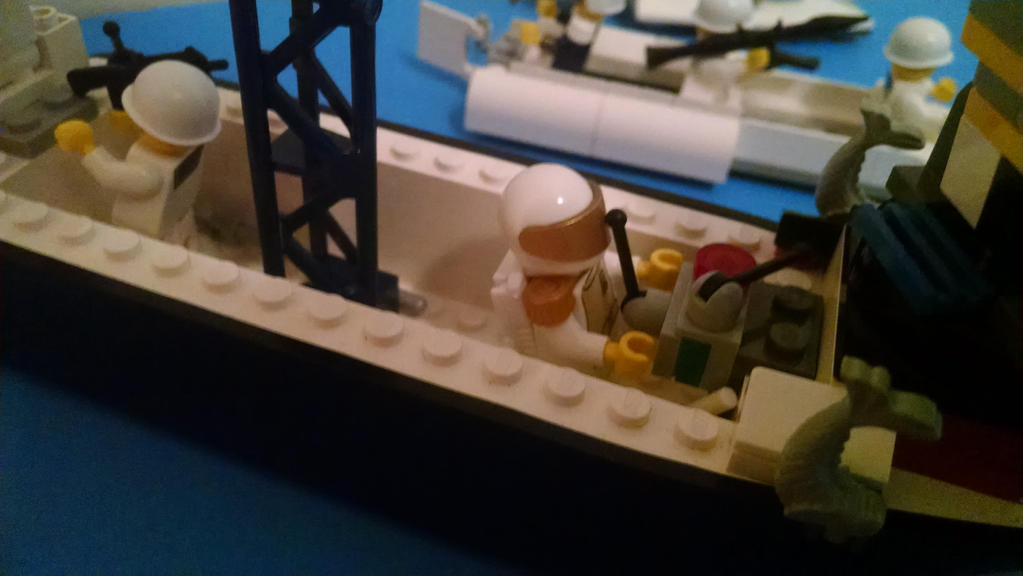
Not about to be outdone by sailors, an amphibious armored transport full of marines also appears headed for Brickingrad's docks. On top it carries a pair of field guns to unload once it makes land fall.

Is so an amphibious transport! Look, it has propellers!
But that's not all of the marines coming to the aid of Brickingrad.
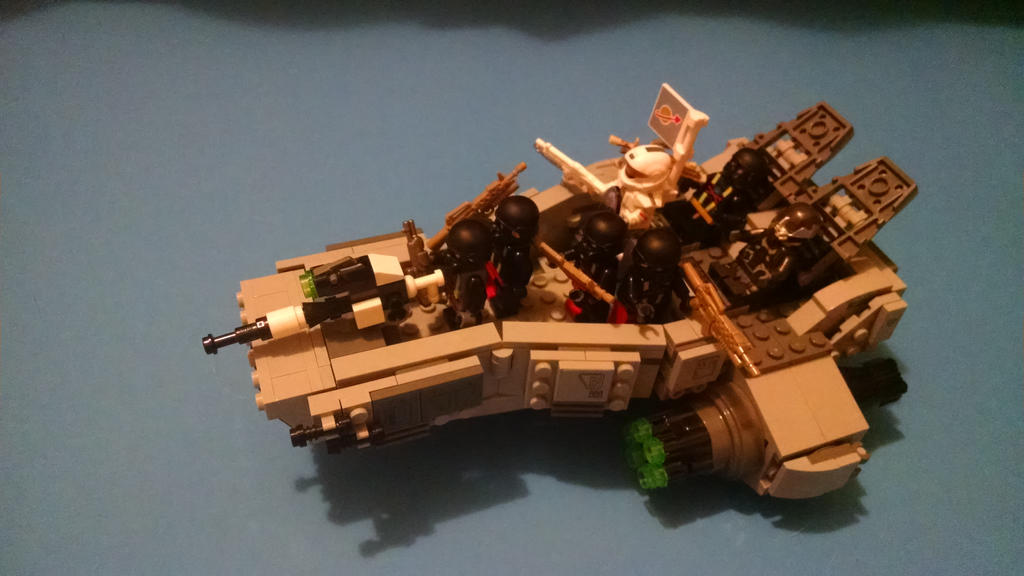
The elite Freakish Unnatural Killers - Unit, led by Colonel Guri Yagarin, are flying in to be dropped off by their dropship. Veterans of the war, they've been fighting since they intervened in the Battle of Septic Springs a year ago.
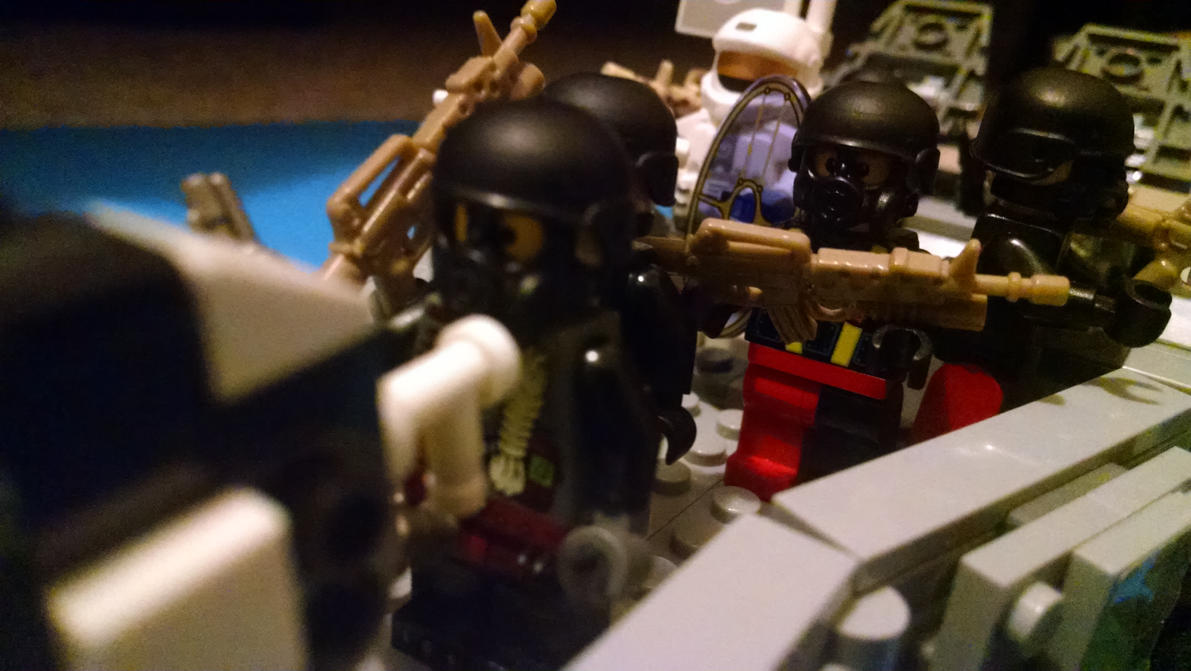
They look loaded for bear...or Comboint...
The marines' transport takes them right in front of Fort Ridgeway. They disembark to reinforce the garrison.
Back at the beach, it looks like utter chaos but the buccaneers are finished as too many Federalists pour into the area.
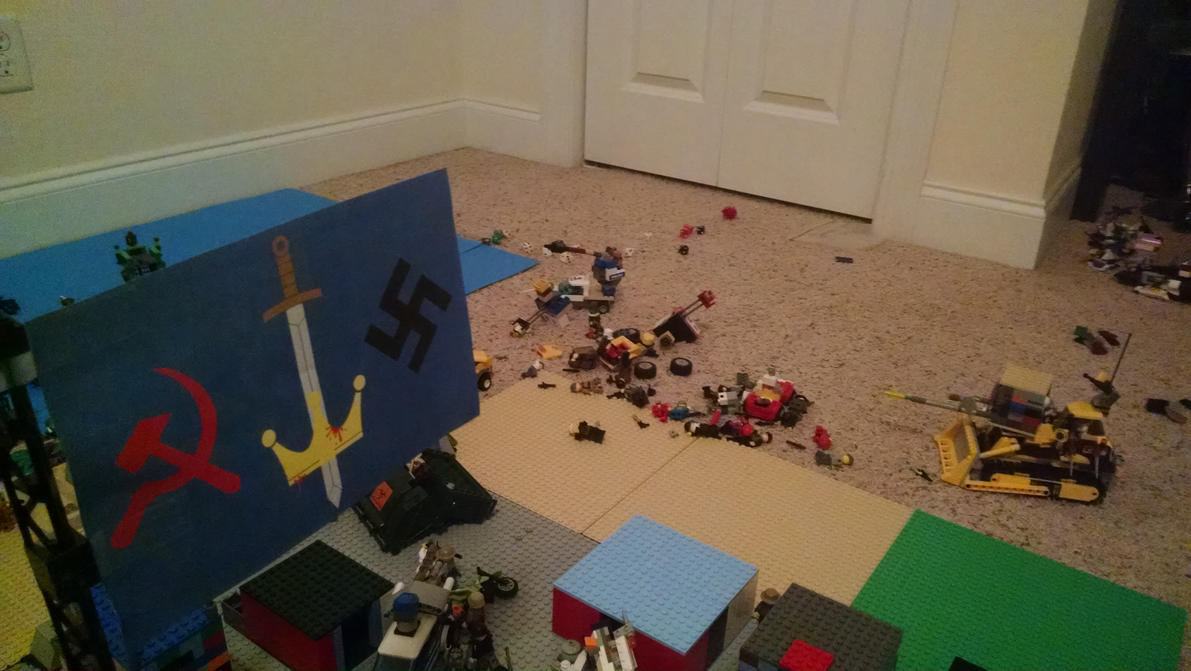
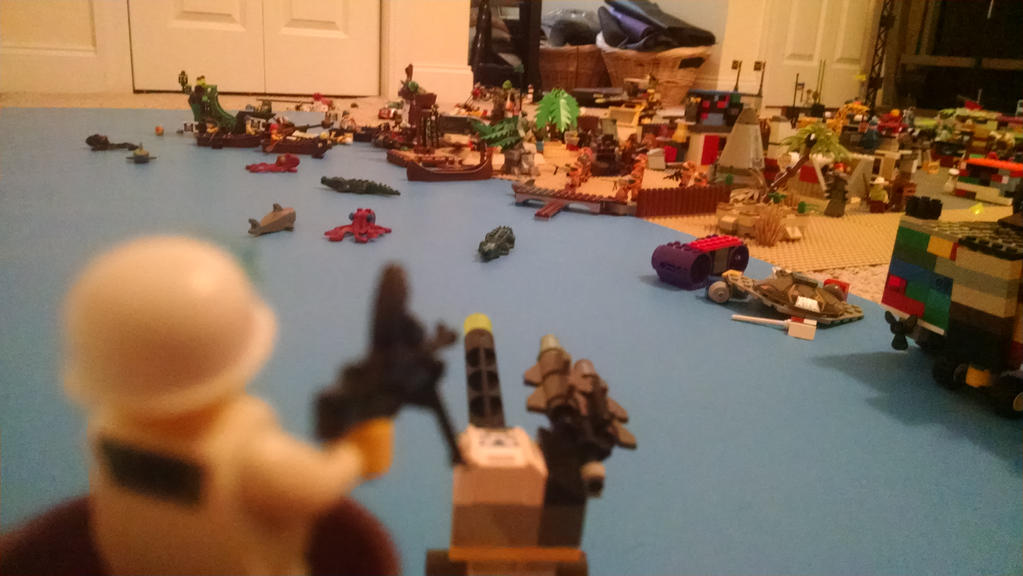
As the second Federalists' turn comes to a close, their flag stands majestically amidst the chaos. It remains to be seen whether it will be blown over by a crashing aircraft or stray explosive.

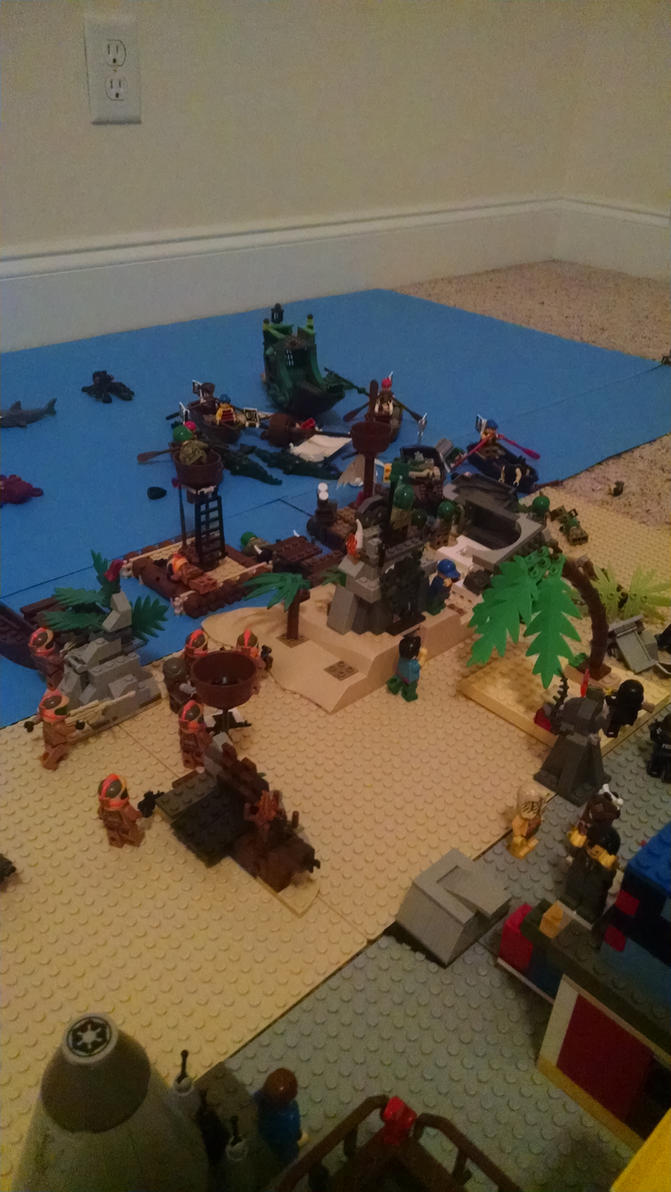
End of turn Overwatch shot. In summary the BNP looks in trouble. The comboints haven't taken the fort down yet and their smaller attacks have all failed.
Don't worry, though; just as the Federalists have received reinforcements, so too will the BNP next turn...
Next Part