For Great Justice, Part 1: Tower of Justice Round Eight
Extras: Each team will earn +1 CP at the end of Round Eight. At the beginning of next round, anything outside the inner ring becomes electrified.
Grey Turn 8a, Originally Hidden
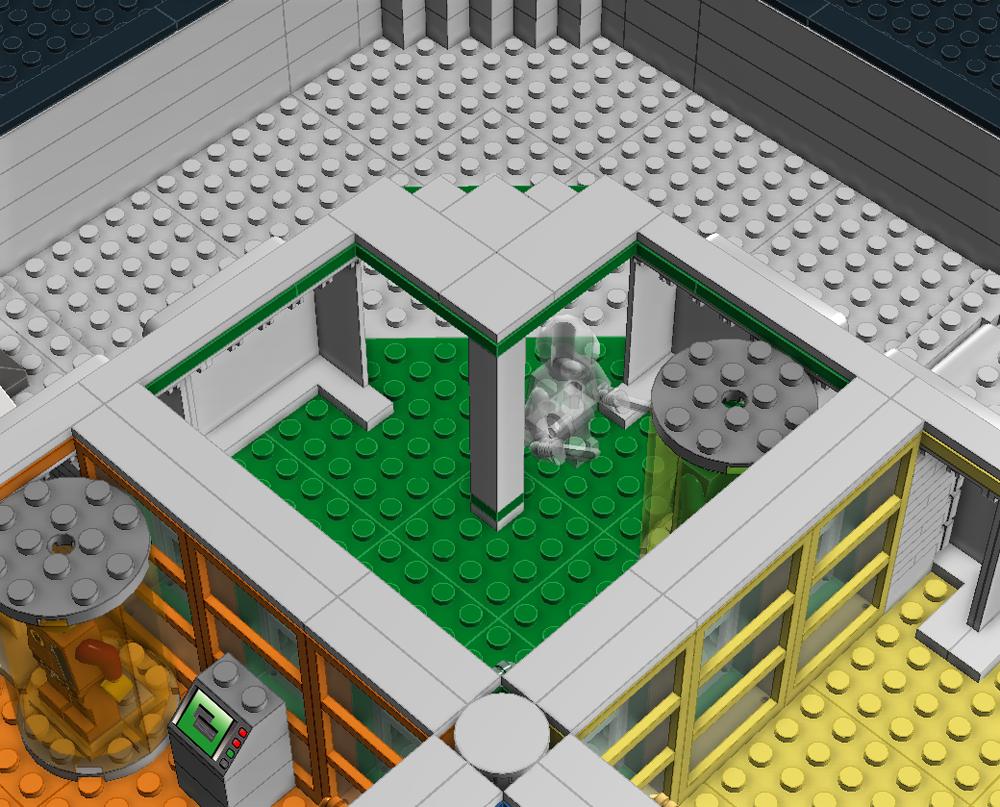
A Grey moves into Green’s Keyzone and is very close to escaping the floor.
Grey Turn 8b, Originally Hidden
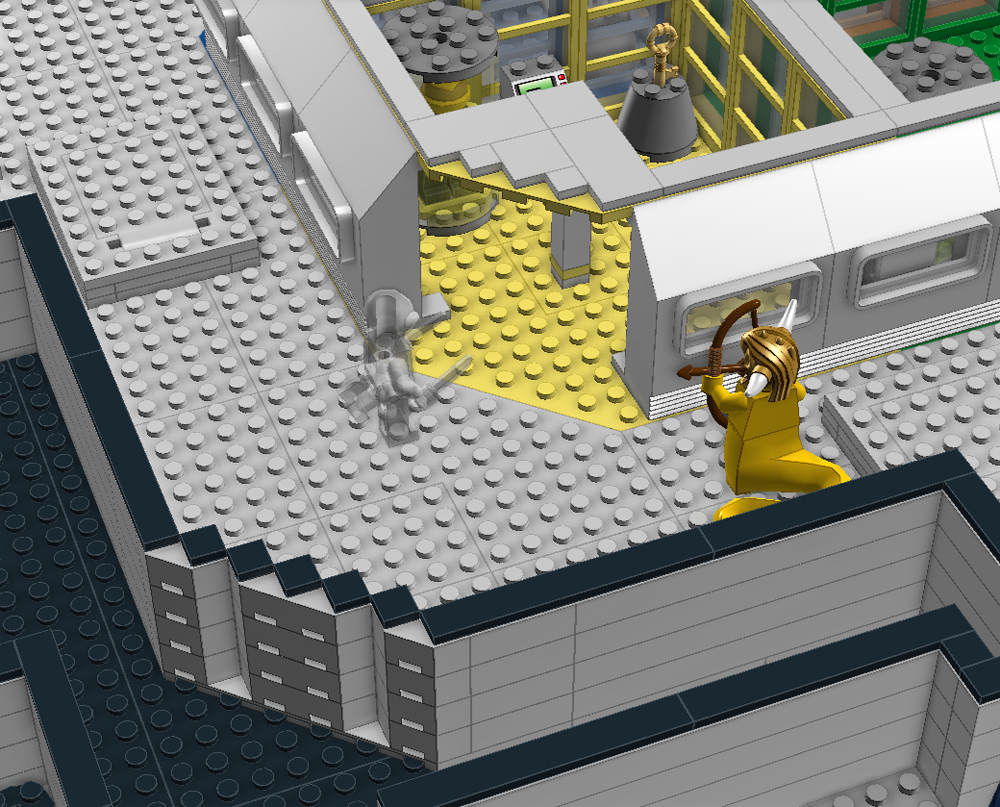
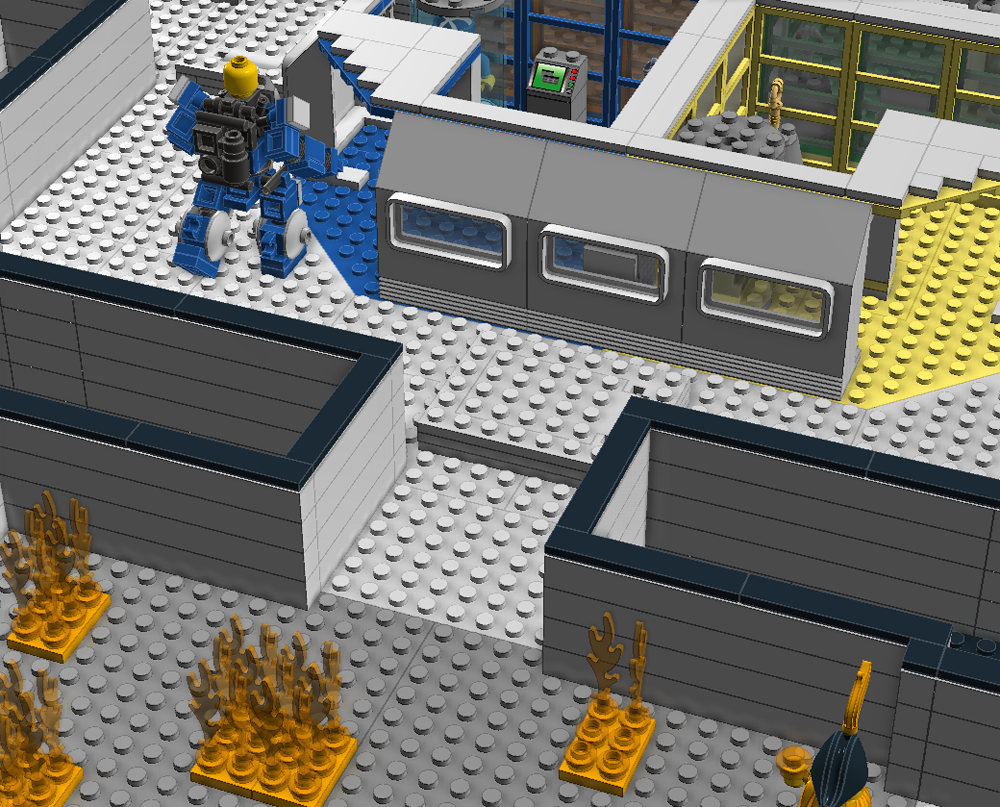
Another moves just outside of Yellow’s Keyzone.
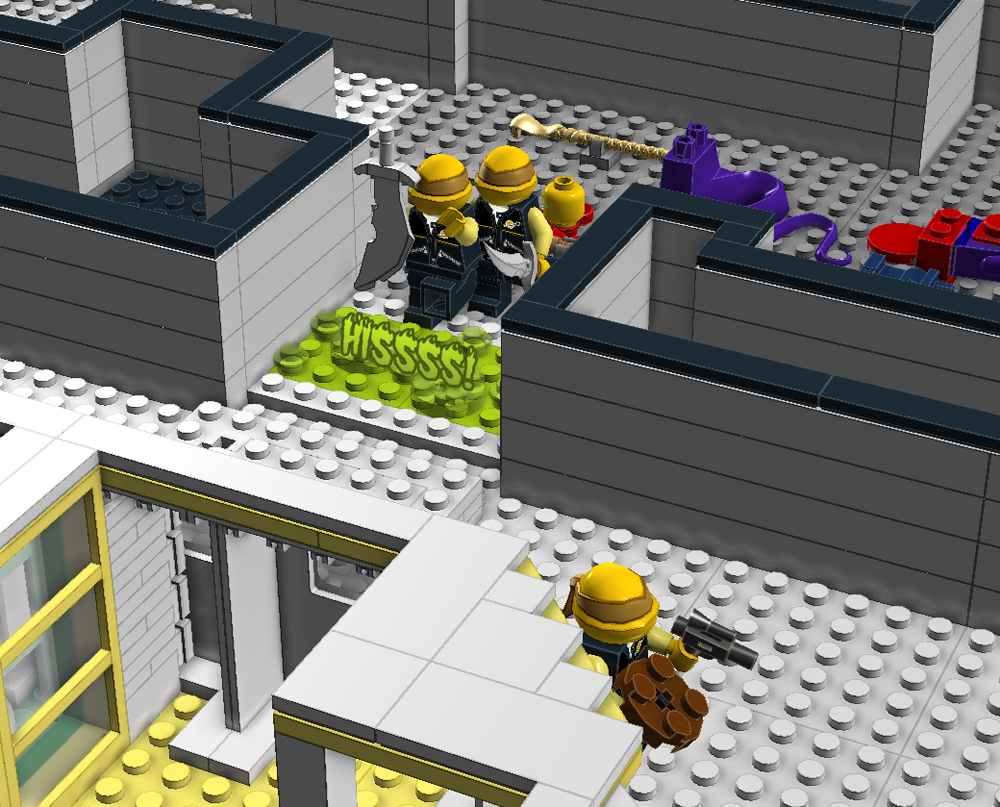
Grey Turn 8c
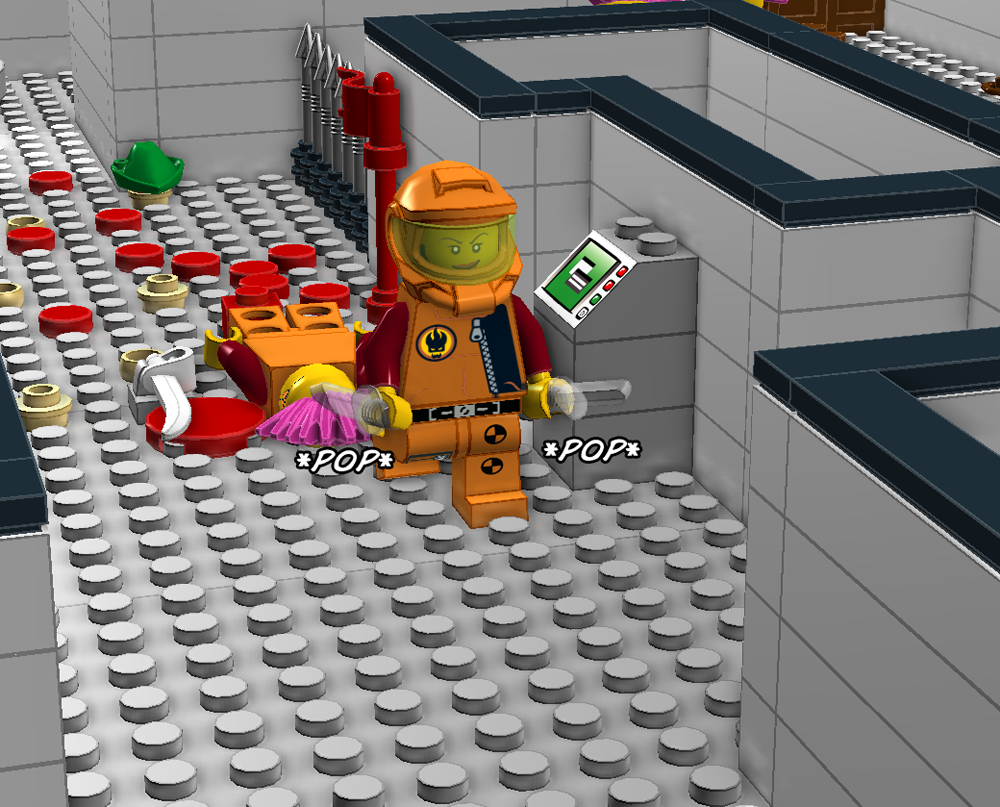
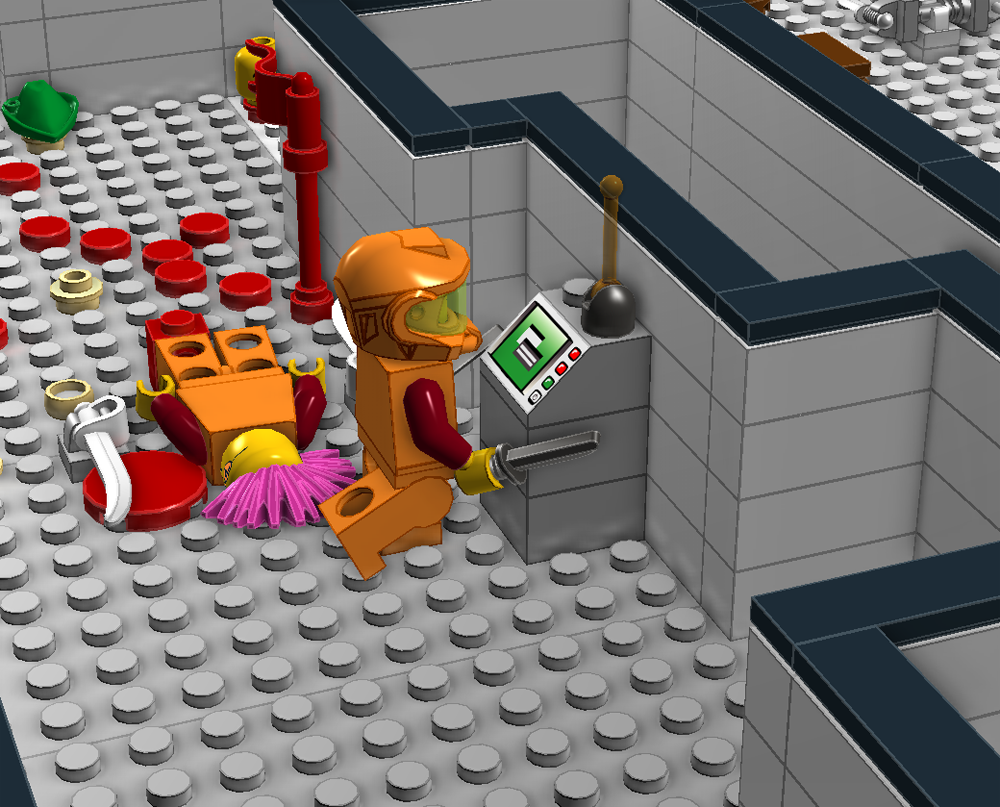
The Grey plaguing Orange Spy pulls a fast one, phasing her weapons out and his own weapons in, effectively switching weapons with her. Orange Spy is now equipped with two knives while the Grey gains a sword and a gun.
Grey Turn 8d, Originally Hidden
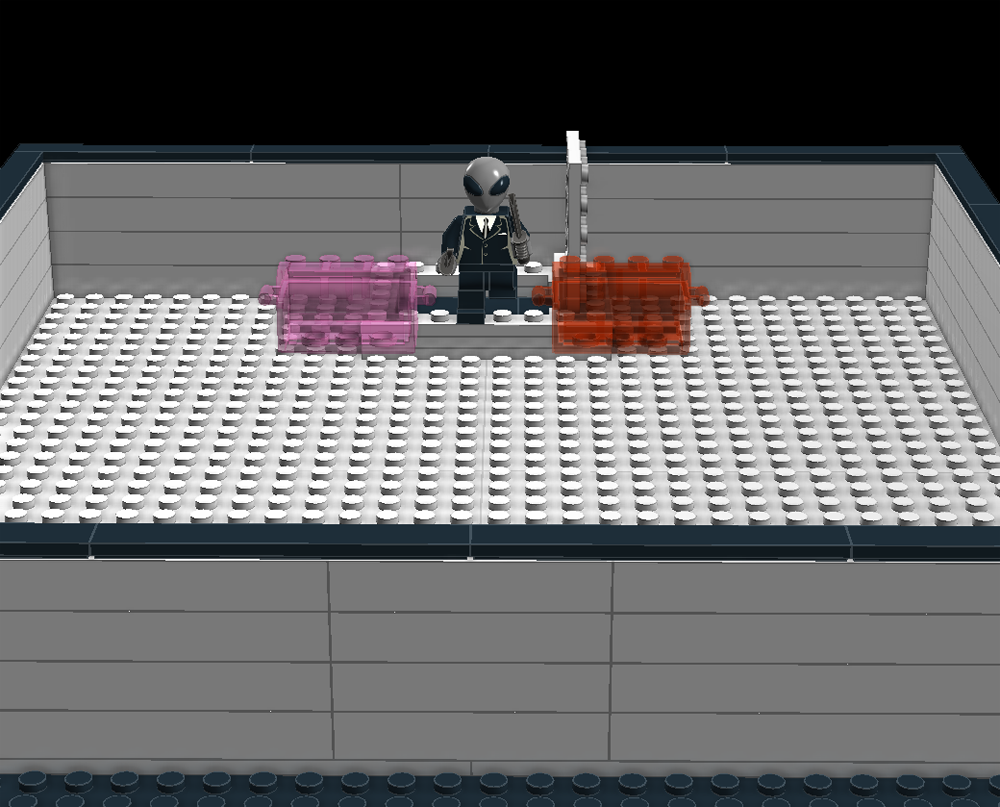
The final Grey ascends toward Level Two…and instead finds himself in a medium sized room. He is informed that the walls are phase destabilized and are thus deadly to him should he try to phase out through them. He is presented with two holographic chests, one red and one pink. Pink is the quick and easy option but provides little reward. Red is the more difficult option but provides more reward. To unlock the opposite hatch, the Grey must choose between them and deal with the consequences of his choice. (This room will serve as Grey Team’s Level Two).
Blue Turn 8
Blue Android gives one last smirk to FireBeard, then turns and sprints toward his Keyzone. His bulk prevents a straight line charge, but his instant benny provides the needed push to get him just outside.
Orange Turn 8a
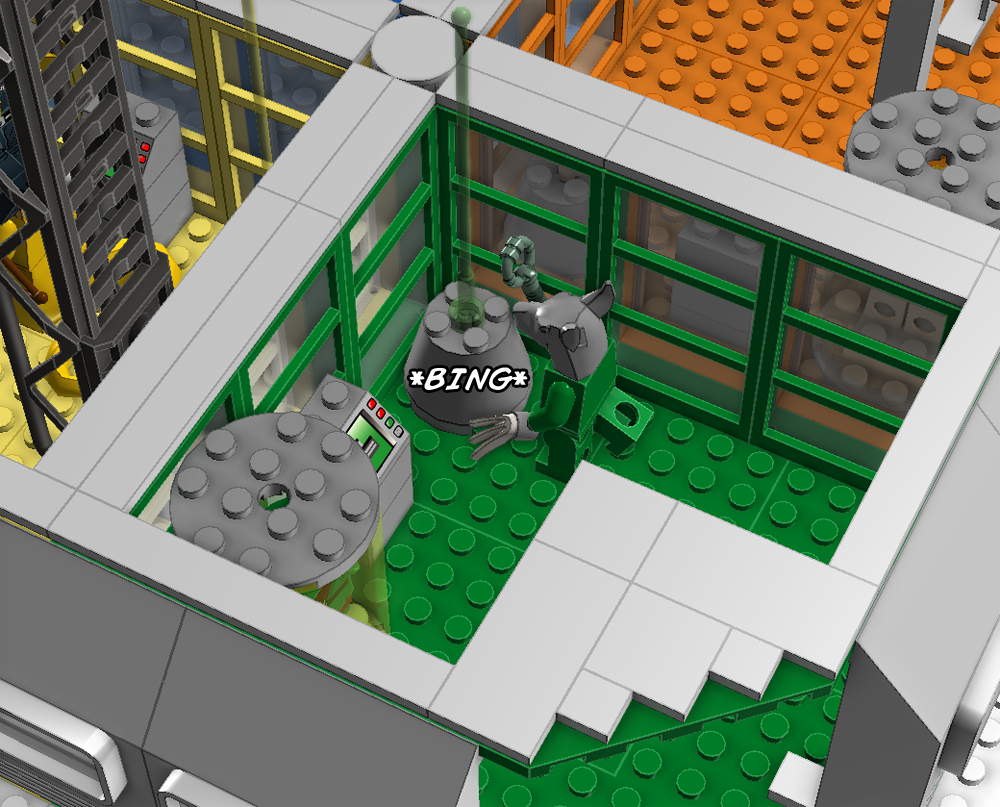
Orange Spy shrugs at her change in weaponry and turns back to the console. She hacks the system and chuckles to herself at the thought of all the Warden’s security men scrambling to block access to their systems. Again. She spends her entire turn programming several sets of instructions. The rest of the team hold their actions.
Yellow Turn 8a
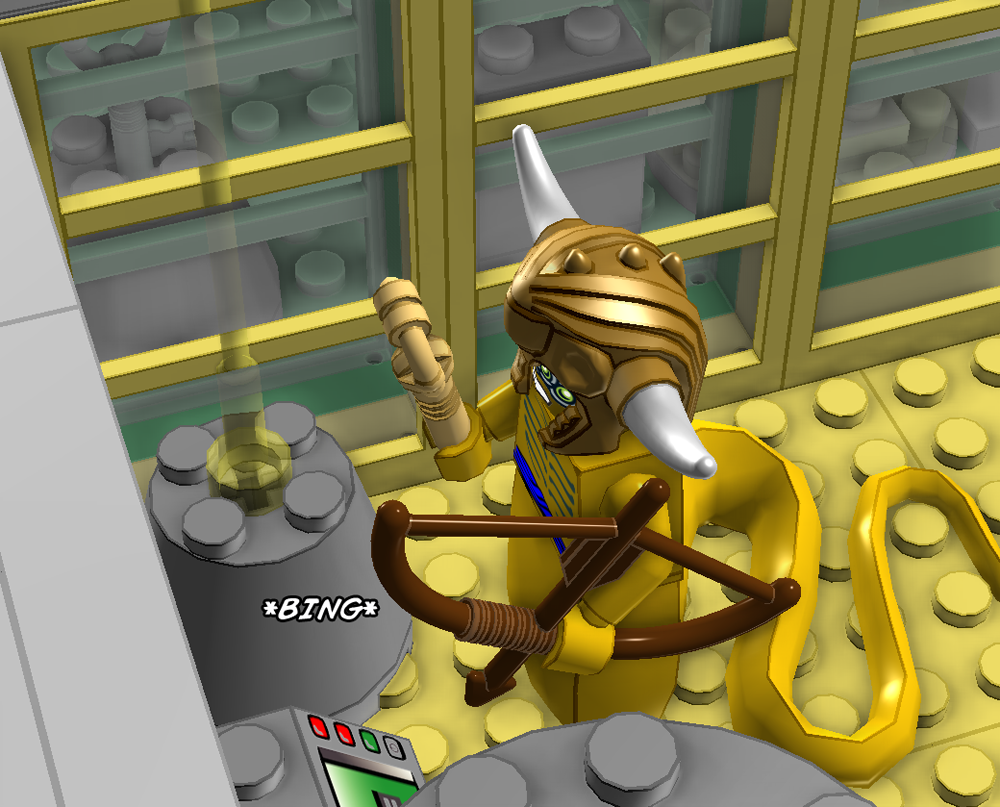
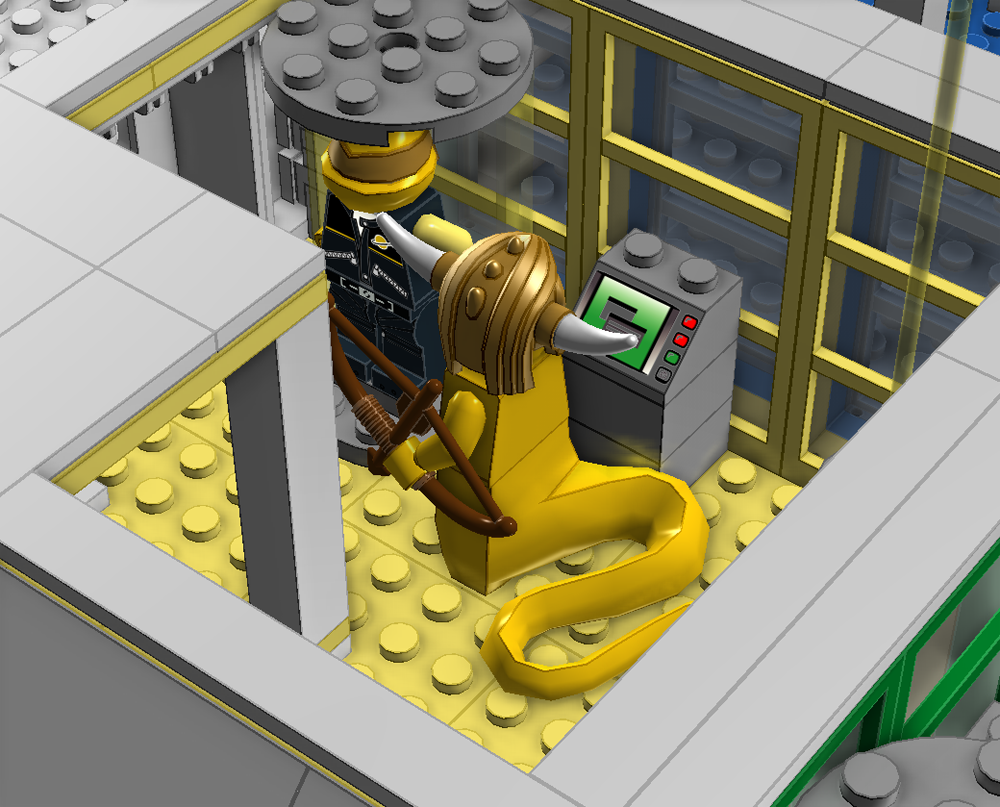
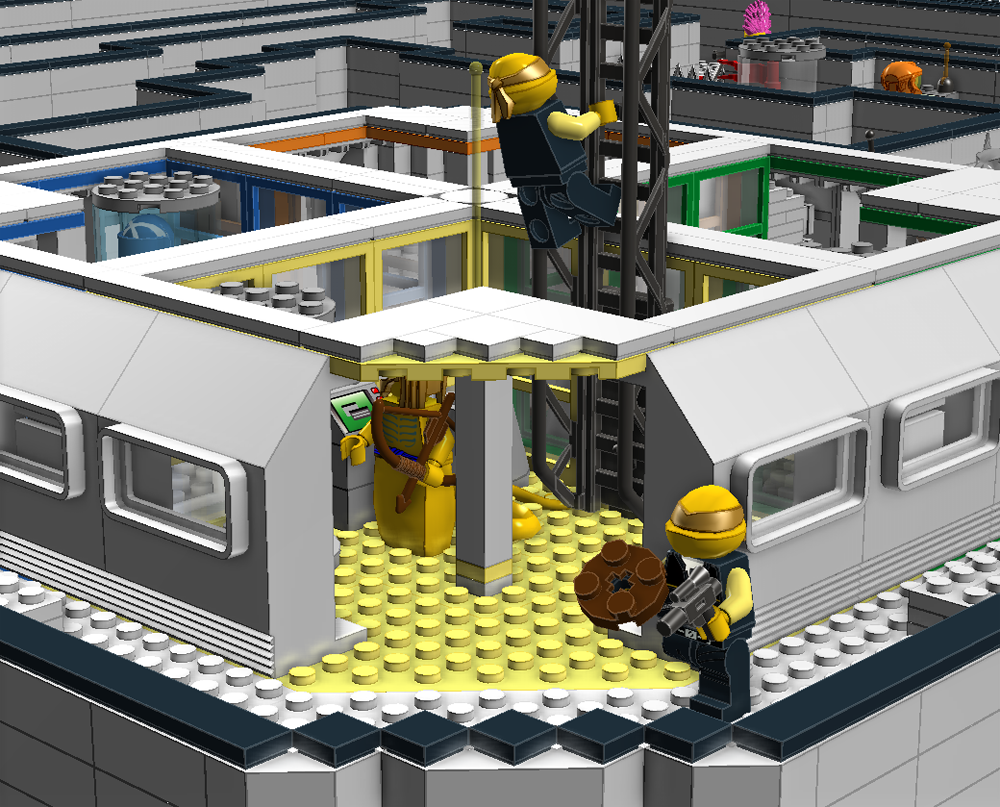
Snake Yellow slithers into his Keyzone and obtains the Level One Key! Yellow Team now has access to Level Two
Yellow Turn 8b
With movement still remaining, he slides over to the Computer Console and uses it to open the Stasis Chamber. Keybro joins Yellow Team.
Yellow Turn 8c
The Medik moves right up to the Keyzone but Newbro has some difficulty and triggers an Acid Pit Trap. He nearly falls in but the reptiles were all carefully looking out for one another and Daggers pulls him back just in time. Newbro’s Bone Sword splashes into the acid and is gone, however.
Yellow Turn 8d
Keybro hops the ladder and begins to ascend toward Level Two.
Green Turn 8a
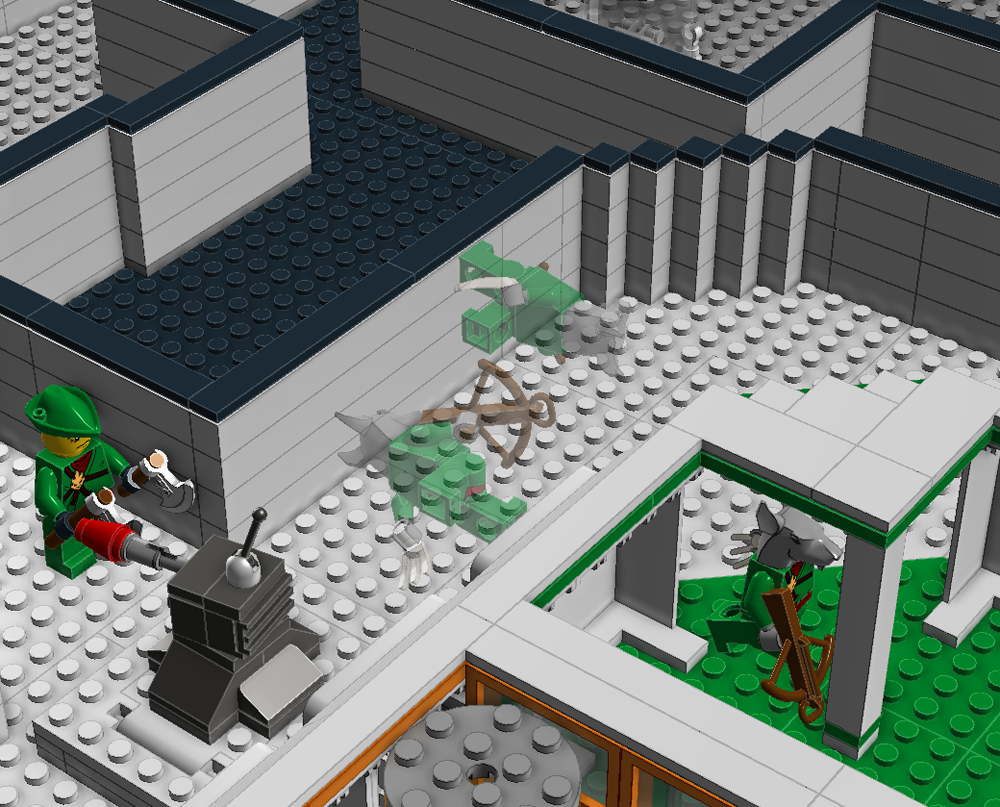
Master Splinter performs an amazing acrobatic wall run double flip, bypassing the turret and landing in his own Keyzone.
Green Turn 8b
He quickly dashes over and grabs the Level One Key! Green Team now has access to Level Two.
Green Turn 8c
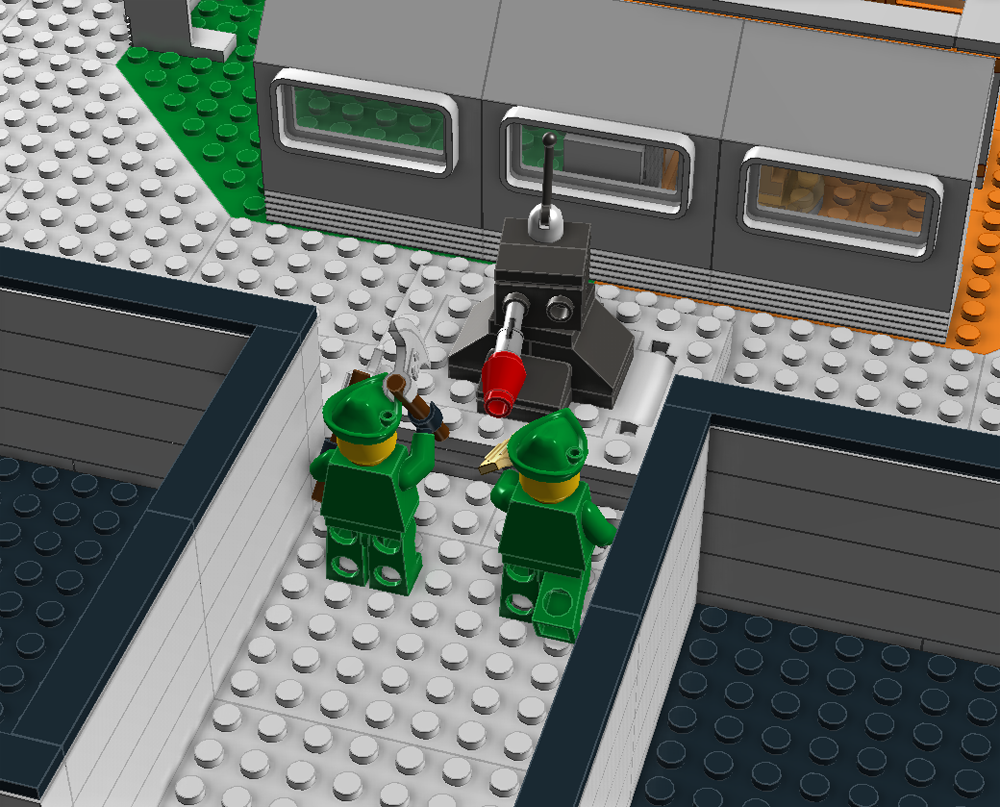
Pathfinder and Scrapmetal charge the turret…
Orange Turn 8b, Response
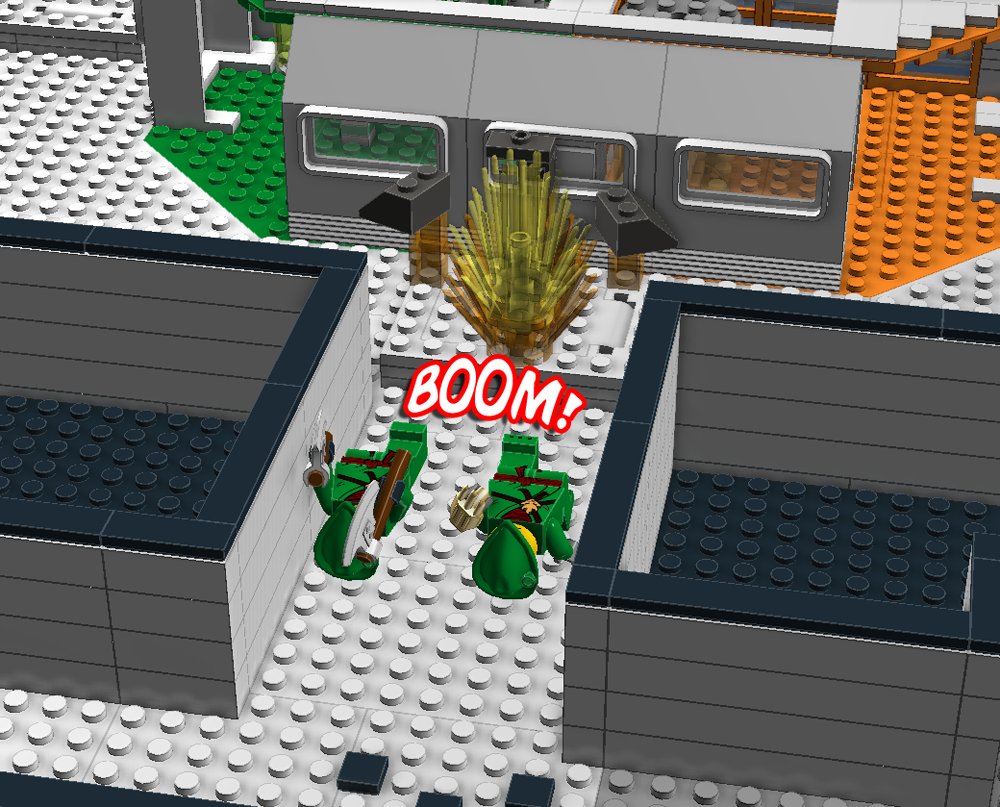
…but Orange Spy’s commands take effect first. The turret self detonates as Green Team closes in on it, tossing both minifigs back down the hall. Again, the blast comes up with a damage of one and fails to kill but, again, succeeds in knocking them on their asses.
Orange Turn 8c, Response
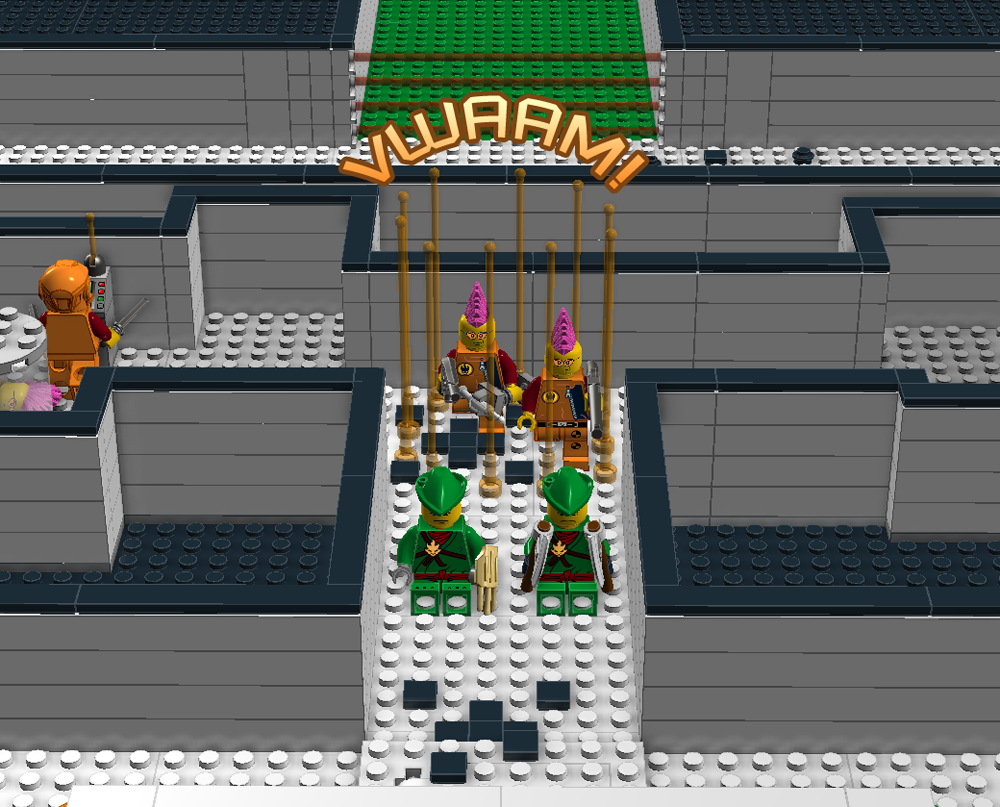
The second stage of Orange Spy’s plan kicks in and her team is teleported into the hallway directly behind and over the prone Green Team.
Orange Turn 8d, Response
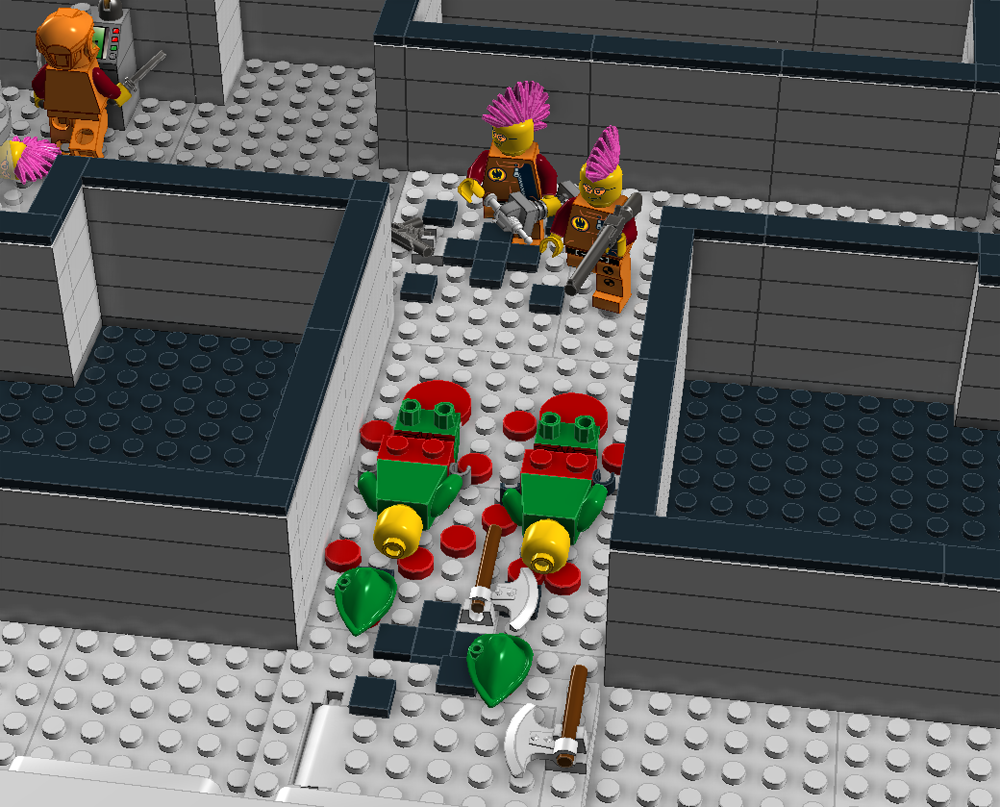
The Medik goes to fire his pistol but the weapon jams badly and becomes useless. He tosses it to the floor in disgust. The Shotgunner, however, lines up the perfect shot and rolls for maximum damage, blowing the two apart and scattering their bits down the hallway.
Pirates Turn 8
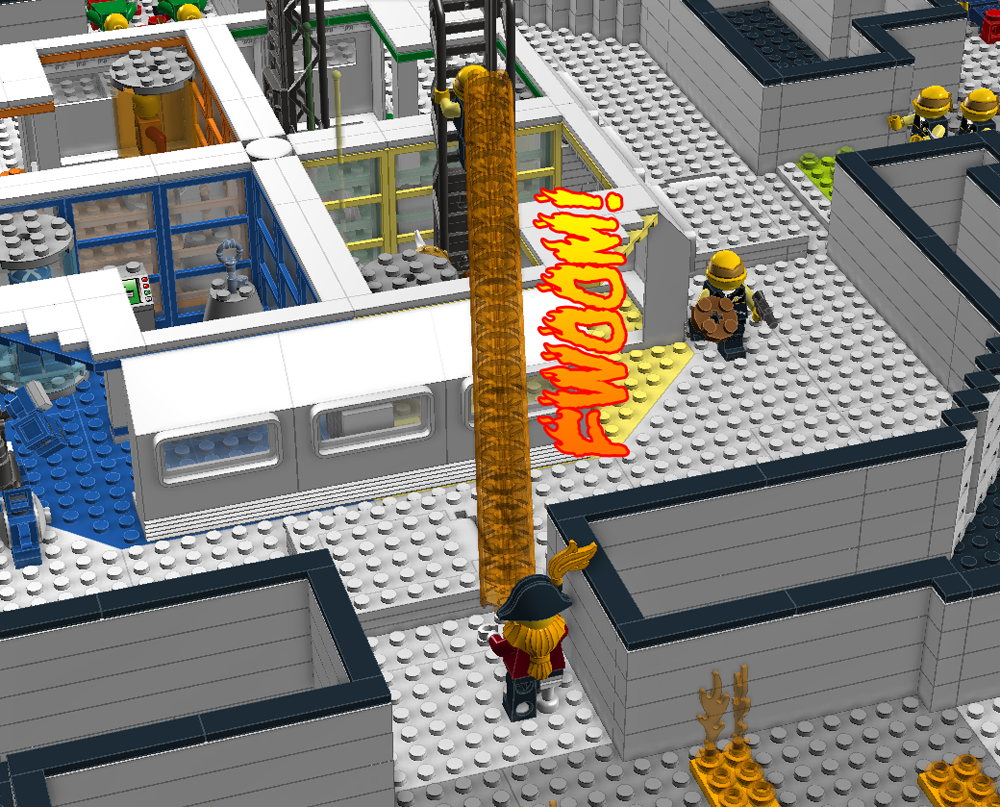
FireBeard follows around the corner toward the inner ring. He sees Keybro making a break for it and decides his flames would be better suited to roasting reptile. He fires off a column of flame, not really expecting to breach the distance. Incredibly, he does. The remaining die of damage isn’t enough to kill Keybro, but it does set him to burning nicely.
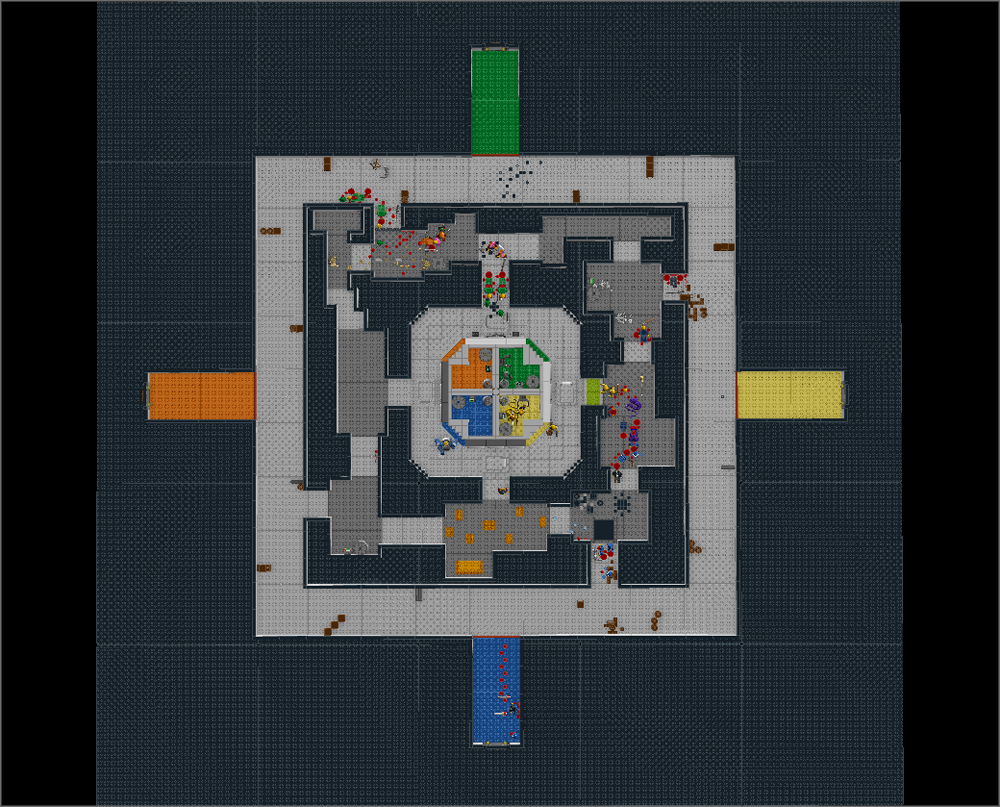
Round Eight Overview A
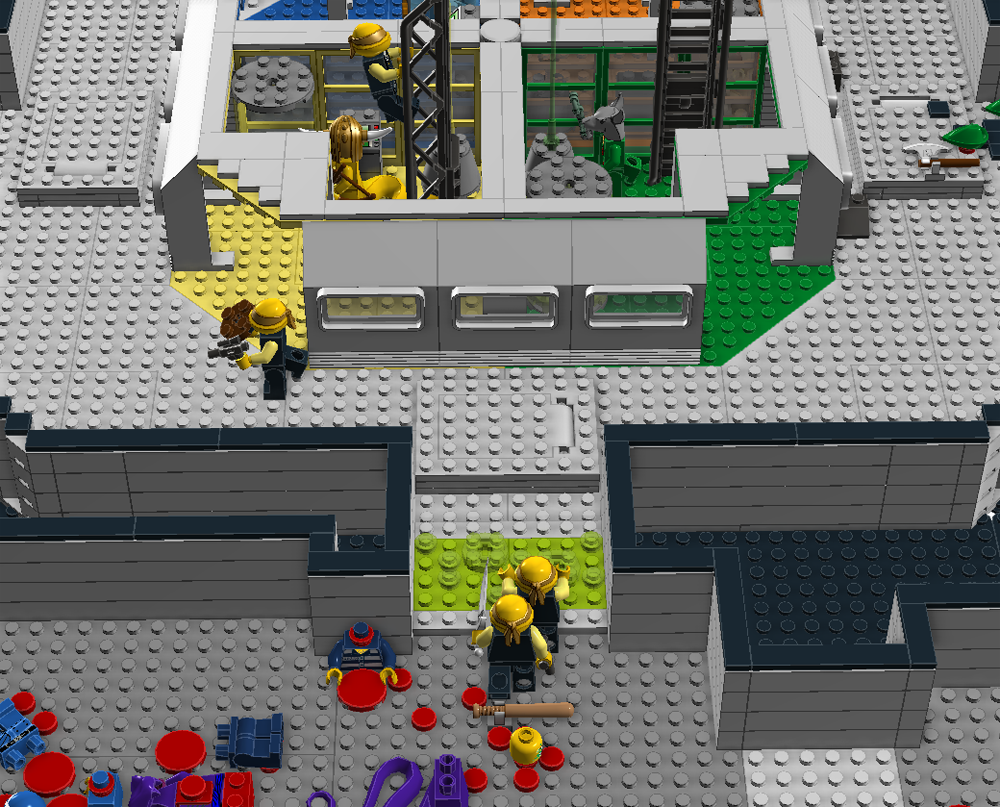
Round Eight Overview B
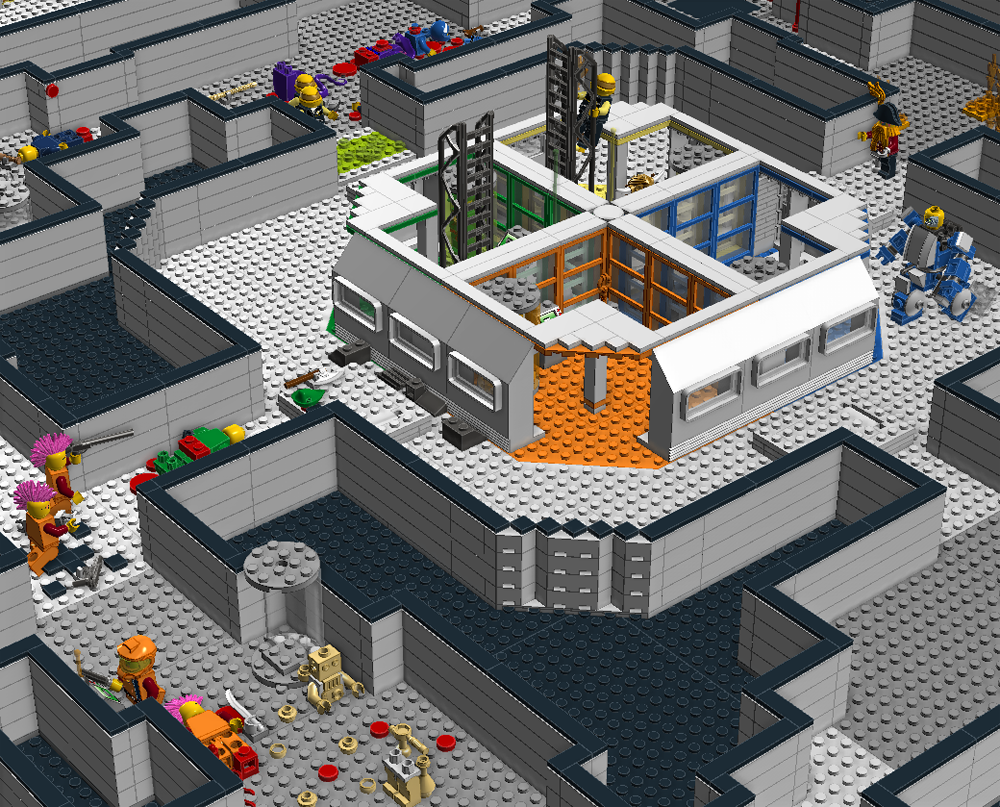
Round Eight Overview C
Overview Breakdown
Blue Team
Abilities
5CP
Android Body 2
Upgrade: SuperNatural d6
Last Man Standing
Equipment
Android: Hardsuit
Medik Corpse: Medik Tool
Recruit Corpse: Pistol
Pathfinder Corpse: 2 Swords
Loot Score: 3
Kill Table
3 Kills
4 Deaths
Kill Score: -1
Badass Moments
Blue Turn 1, Wasting the Pathfinder for temporary gain
Blue Turn 3a, Casual Chasm Redshirt
Blue Turn 4a, This Is BrikWars!
Blue Turn 7b and Pirates Turn 7, Mecha Madness!
Badass Score: 4
Objectives Obtained
None
Orange Team
Abilities
5CP
Map Dominance
Equipment
Spy: 2 Knives
Medik: Medik Tool
Shotgunner: ShotGun
Pathfinder Corpse : 2 Sabers
Purchased and Spent Explosive
Loot Score: 1
Kill Table
4 Kills
1 Deaths
Kill Score: 3
Badass Moments
Orange Turn 4a, A Perfect Shot
Orange Turn 5a-b, Graceful Execution
Green Turn 6b, RedShirt to Beam Up
Orange Turn 7b-c, Modified Turret
Orange Turn 8b-d, Command Cascade
Badass Score: 5
Objectives Obtained
None
Yellow Team
Abilities
8CP
Poison Shiv 3
Equipment
Snake: Fang Dagger (Sheathed), Longbow
Medik: Medik Tool (Holstered), Shield, Pistol
Pathfinder: Dagger, Dagger (Holstered), Pistol
Newbro: None
Keybro: None
Shotgunner Corpse: ShotGun
Purchased and Spent Explosive
Loot Score: 4
Kill Table
7 Kills
1 Deaths
Kill Score: 6
Badass Moments
Yellow Turn 3a, Snake Coil Leap Attack
Yellow Turn 3b, Improbable Dagger Throw
Yellow Turn 4b, The Angry Arrow
Yellow Turn 6c, Arrow Explosivo
Badass Score: 4
Objectives Obtained
Level One Key
Green Team
Abilities
7CP
Fleet Foresters
Last Man Standing
Equipment
Master Splinter: Crossbow, Claw
Pathfinder Corpse: 2 Axes
Forester Corpse: None
Medik Corpse: Medik Tool, Crossbow
Shotgunner Corpse: ShotGun
Loot Score: 1
Kill Table
3 Kills
3 Deaths
Kill Score: 0
Badass Moments
Green Turn 3a and 5a, Pathfinder Trapmaster
Orange Turn 4b, Medik Redshirt
Green Turn 4c, Puts on Shades
Green Turn 6a-b, Tactikal Supremacy
Green Turn 8a, Ninja Moves
Badass Score: 5
Objectives Obtained
Level One Key
Grey Team
Abilities:
6CP
Phasic SuperNatural Dice
Equipment
Grey: Saber, Pistol
Grey: 2 Knives
Grey: 2 Knives
Grey: 2 Knives
Purchased Explosive
Loot Score: 3
Kill Table
2 Kills
0 Deaths
Kill Score: 2
Badass Moments
Grey Turn 4h, The Wall Grab
Grey Turn 6d, Phantom Ride Kill Assist
Grey Turn 8a, Phantom Switch
Badass Score: 3
Objectives Obtained
Accessed Level Two
Overview Comparison
Construction Points
Grey: 6
Blue: 5
Orange: 5
Yellow: 8
Green: 7
Loot Score
Grey: 3
Blue: 3
Orange: 1
Yellow: 4
Green: 1
Kill Score
Grey: 2
Blue: -1
Orange: 3
Yellow: 6
Green: 0
Badass Score
Grey: 3
Blue: 4
Orange: 5
Yellow: 4
Green: 5
Objectives
Blue: 0
Orange: 0
Yellow: Level One Key
Green: Level One Key
Total Scores
Grey 2
Blue: 1
Orange: 4
Yellow: 6
Green: -2
Green drops into dead last, which puts Orange into second place behind Yellow. Yellow, Green, and Grey have access to Level 2 but the others are not far behind.
| For Great Justice, Part I: Tower of Justice | |
|---|---|
| Previous: Round Seven | Next: Round Nine |
