A few weeks ago, I asked for some advice on how to customize a Best-Lock tank (http://www.brikwars.com/forums/viewtopi ... =8&t=11573). I’m pleased to report that I’ve just completed the rebuild, and am reasonably happy with how it turned out.
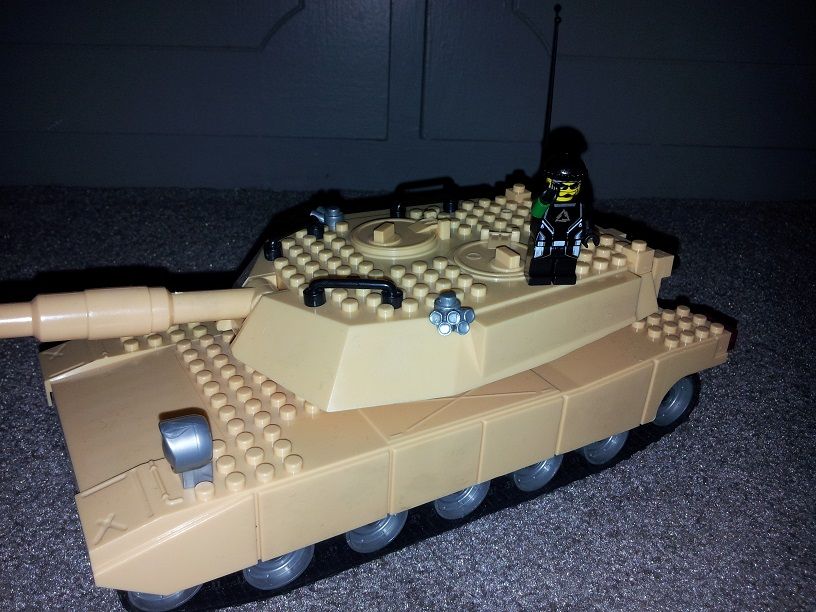
Here’s the tank as it was when I started out.
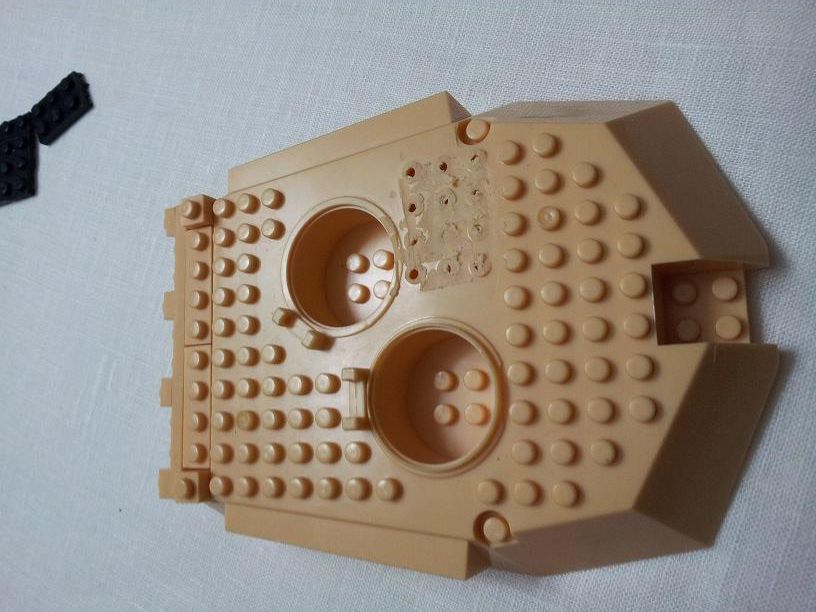
My first task was to sand down part of the tank’s turret, since most Lego’s won’t attach to the vehicle’s current ones (“compatible with other brands”, ha!). I cut some of the damaged Lego plates that have found their way into my collection down to size, and hot glued them into place. I also glue most of the tank’s other components together at this stage as well, managed to eliminate most of the instability that is endemic to clone brands.
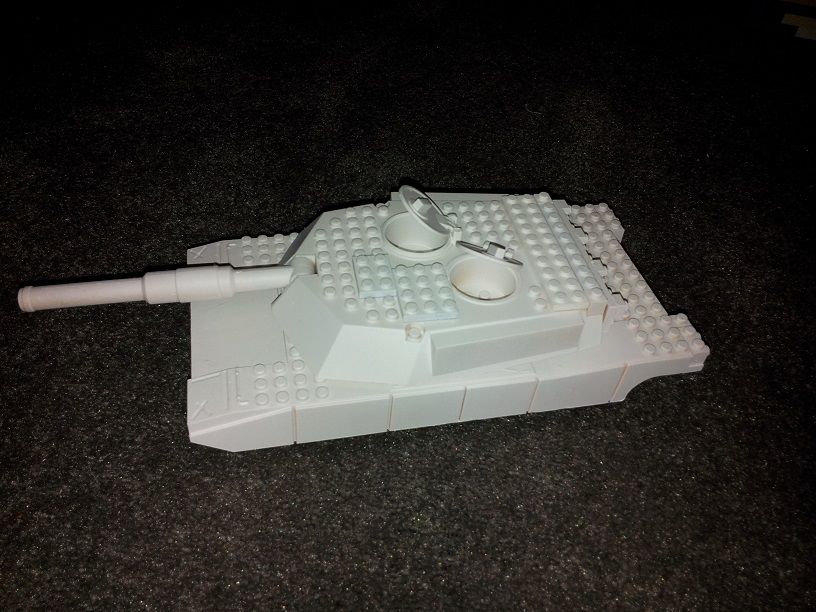
With the sanding and gluing complete, I moved on to painting. I decided to go with an urban camouflage pattern, and after a few minutes of googling had a rough idea of what to do. One trip to the craft store later, and I was ready to start. The first step was to apply a base coat. In my case, I used a can of modeling grade spray-on enamel.
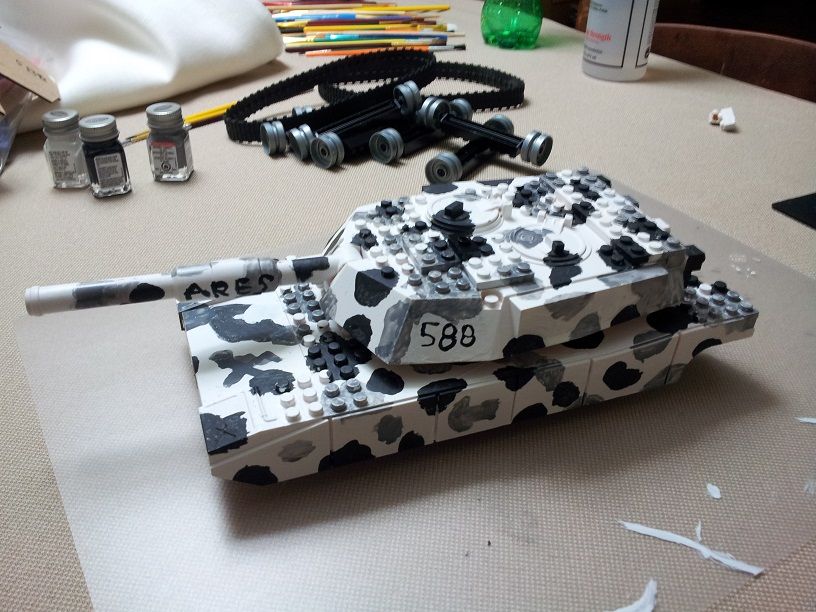
Once the enamel had dried, I went to work applying the rest of the pattern. While it didn’t work out as well as I hoped (thanks to my inexperience with this kind of thing), I wound up with a passable camo pattern.
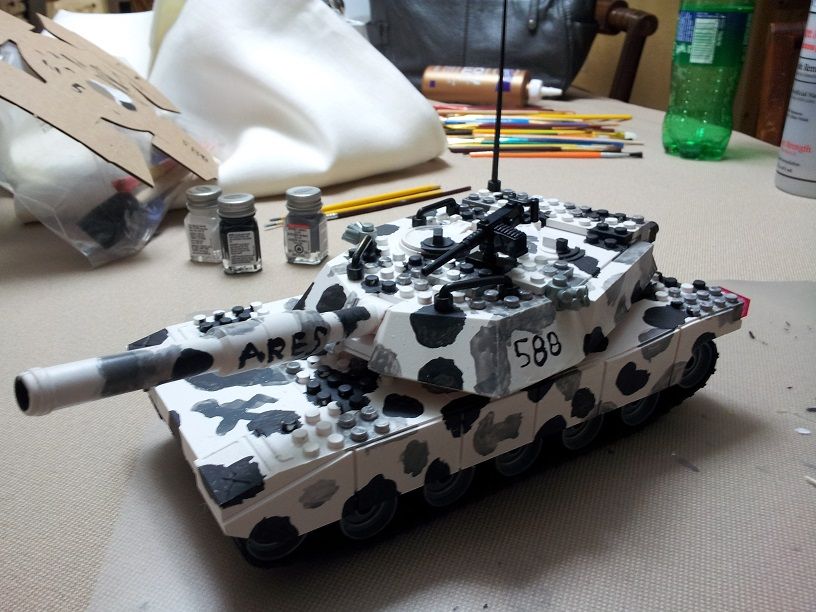
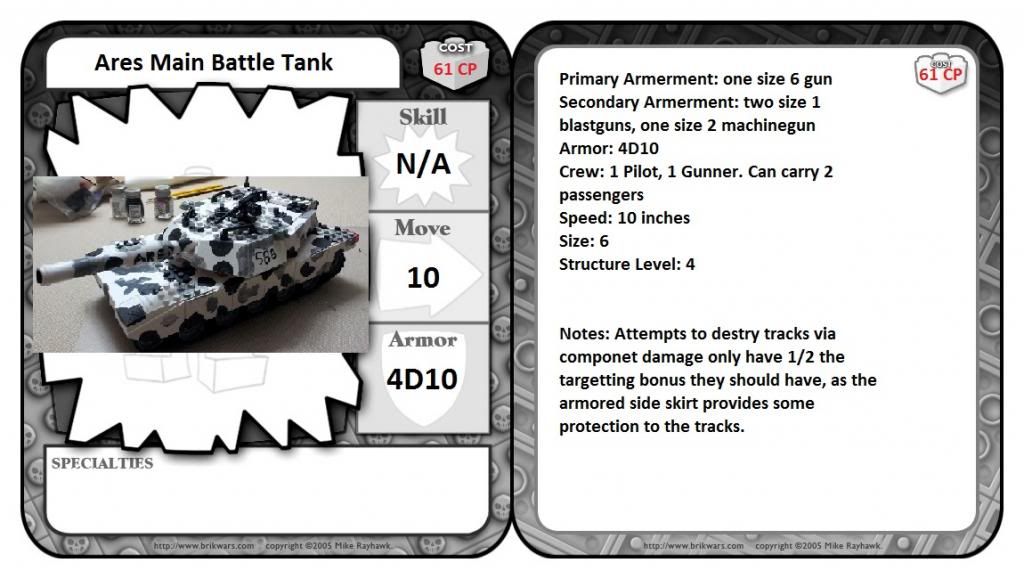
The last step was to reattach the various surface elements I’d removed before spraying, as well as a final round of glue to attach the turret and some of the new parts. I also brought the tank closer to its real-life counterpart by adding a Brickarms M2 onto the roof. I’m going to be working up and posting its stats shortly.
Comments/questions/feedback, anyone?