This is a little battle I fought not long ago with my brother, some of the pictures are a little blurry, sorry about that.
The year was 1868. The British public had become bored after half a century of relative peace and yearned for violence. Furthermore, the shame of the lack of causalities from first San Juan Pig War (an actual historical event, a war in which no one died) still hung like a pair of dirty socks on the prestige of the crown. Therefore, an expedition, lead by Royal Marine Captain Hawthorne Hendrickson and reinforced by the local Canadian militia set out to attack San Juan Island. The Americans got wind of the impending attack, and sent a force of regulars, lead by none other than Abraham Lincoln and reinforced by the Washington militia to stop them. Thus, the stage was set for the second San Juan Pig War.
(Note:My Brikwars group has never cared much for the rule that normal minifigs can't dual-wield pistols, so we ignore it.)
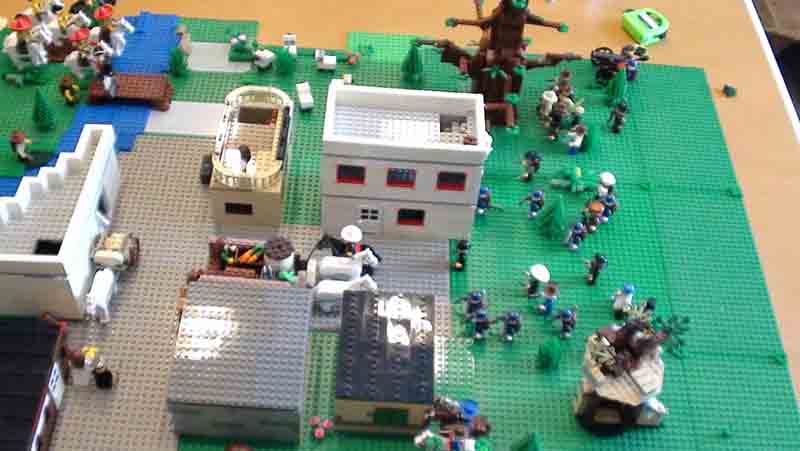
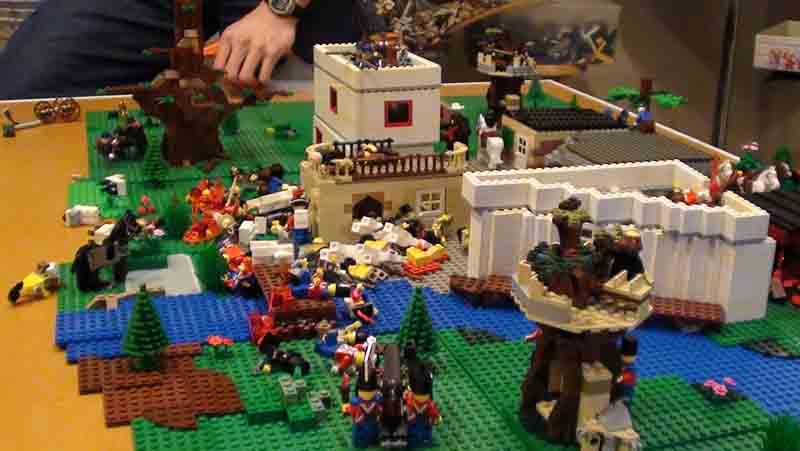
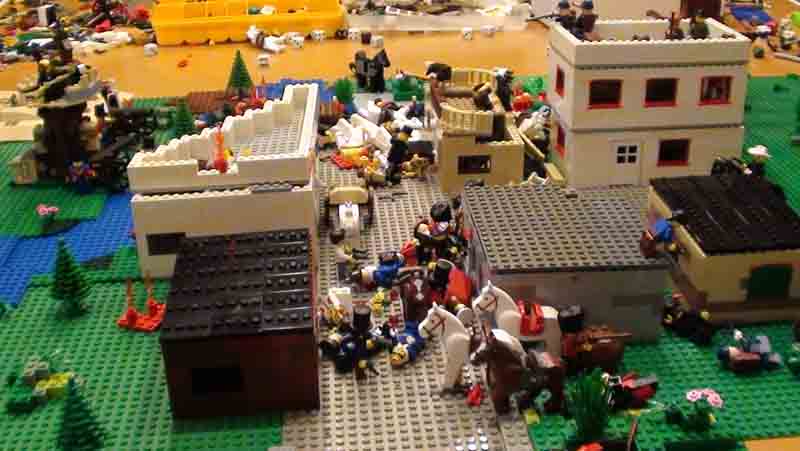
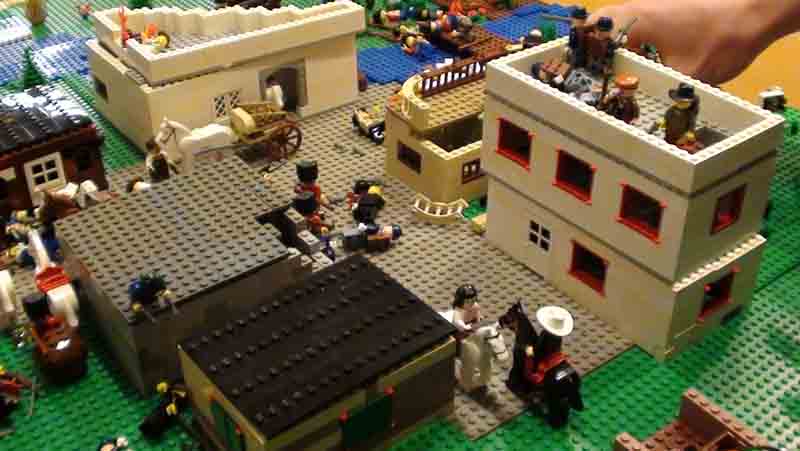
Overviews:
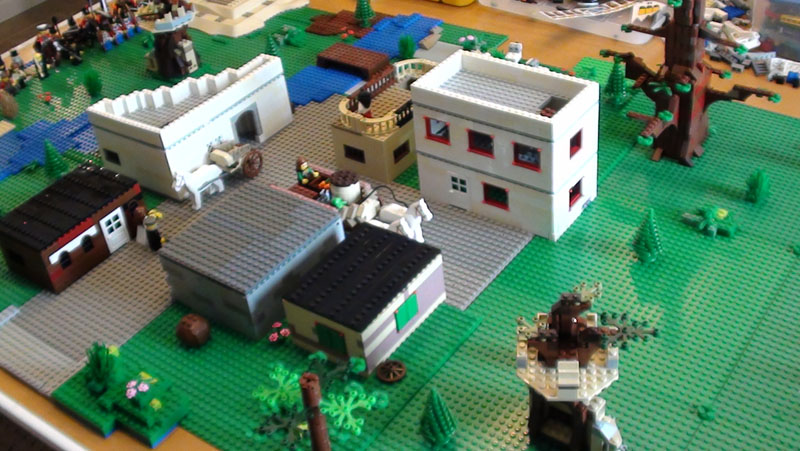
More or less from the American side.
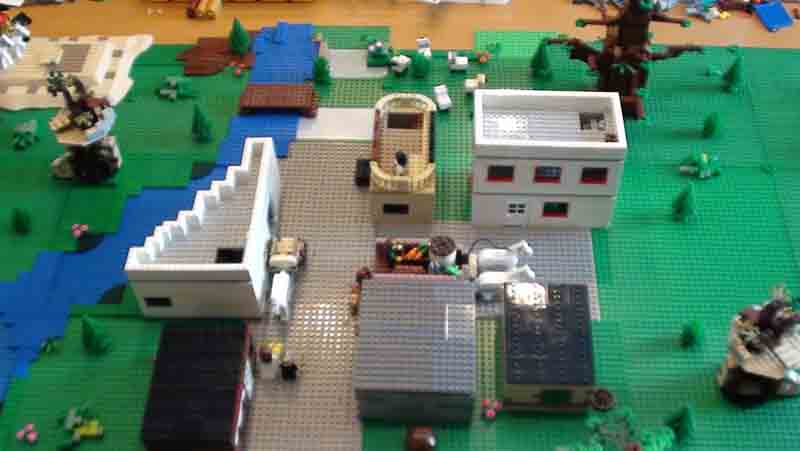
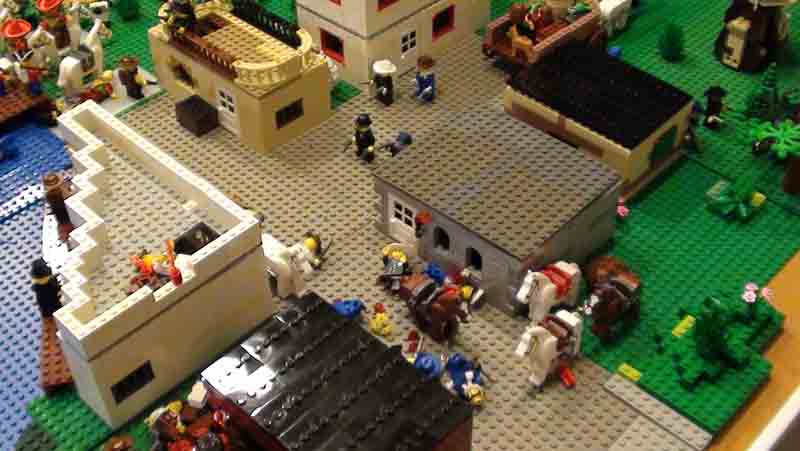
The middle of the battlefield.
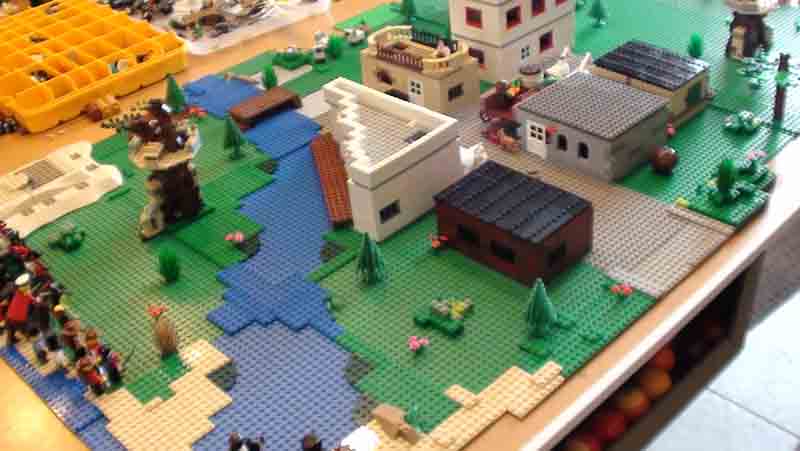
From the British side.
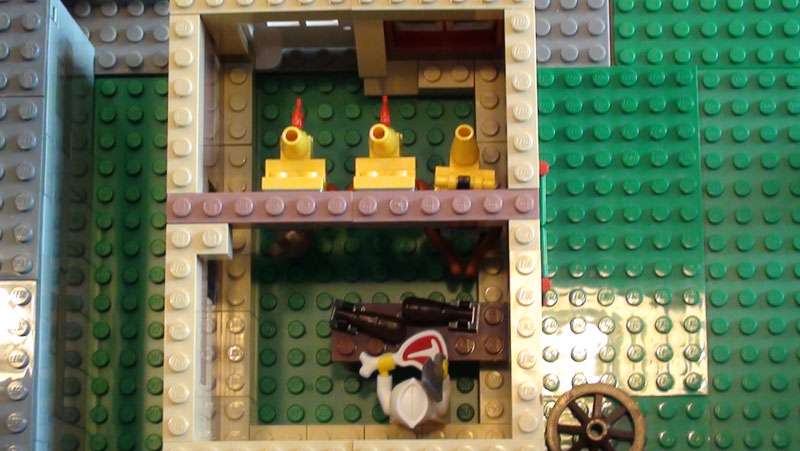
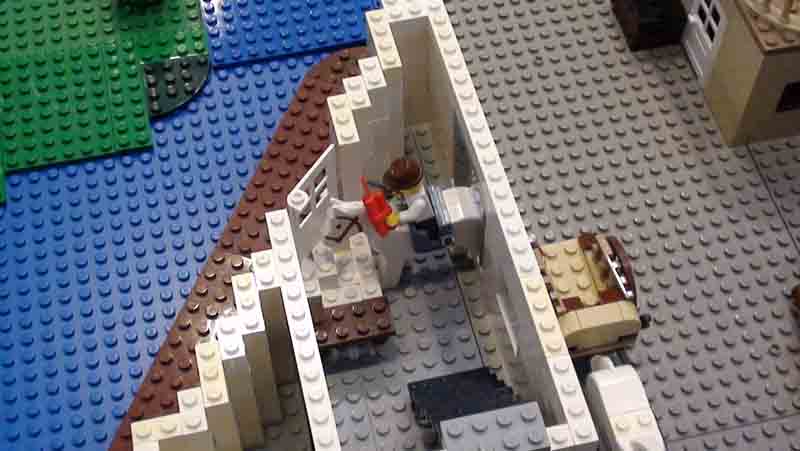
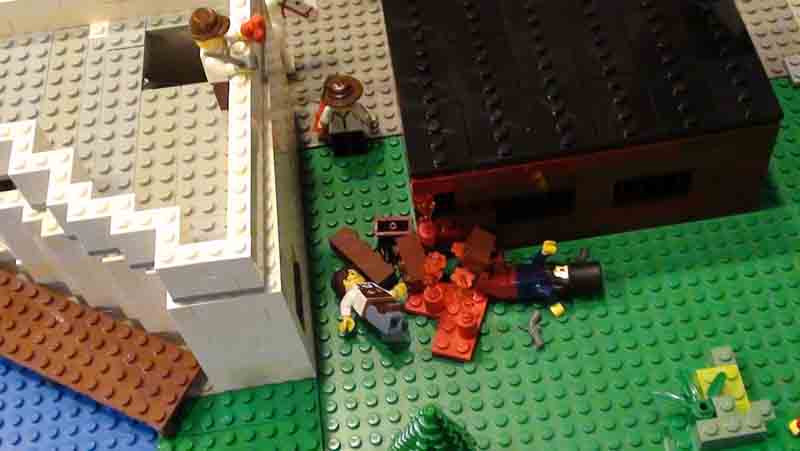
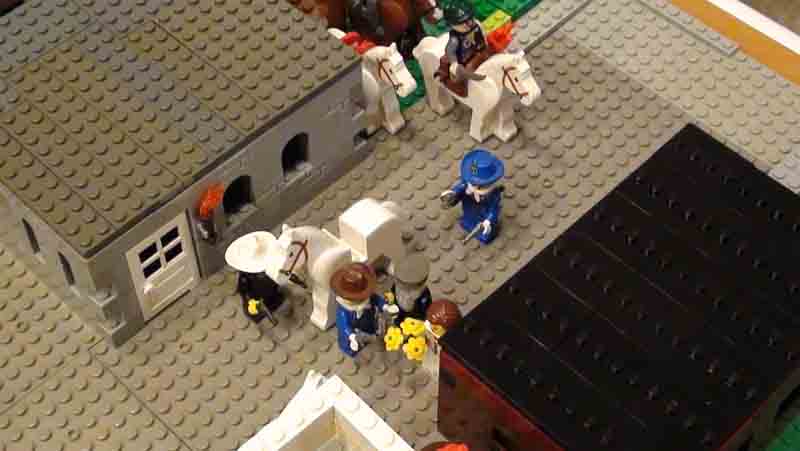
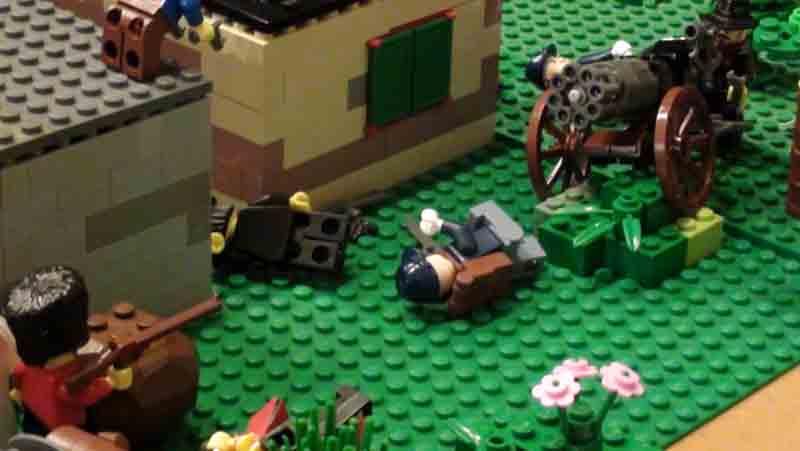
The butcher shop. Unfortunately no one went in.
Some chickens hanging up to be smoked and dried out.
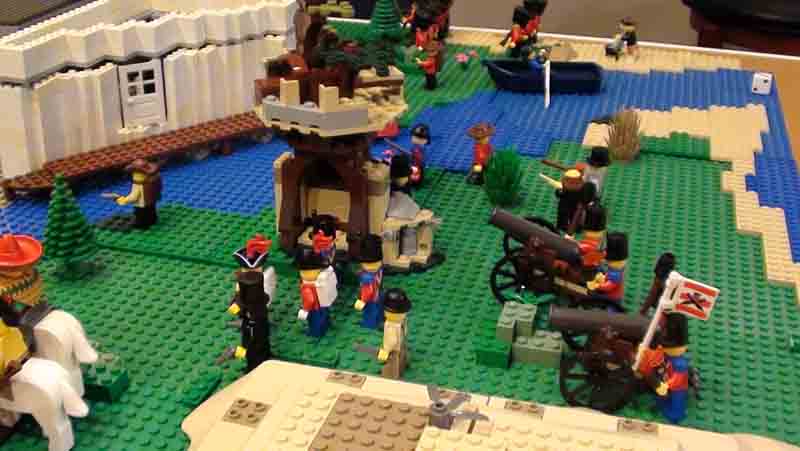
The British Expedition

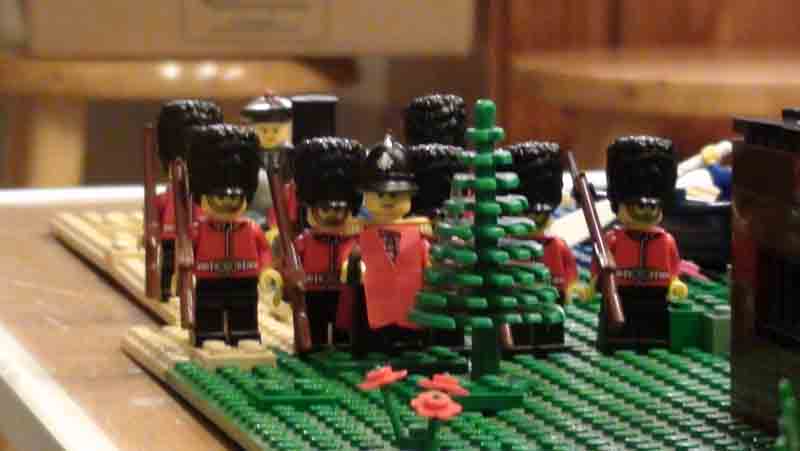
The Scots Guard, on the British right flank. The bagpipes is a heroic object that can inspire Scotsmen to glorious deeds.
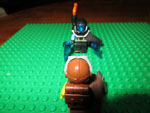
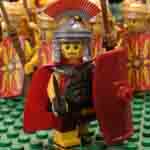
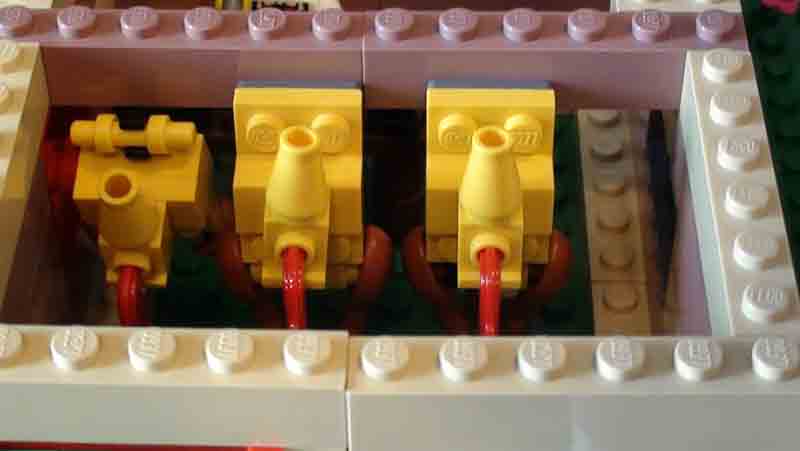
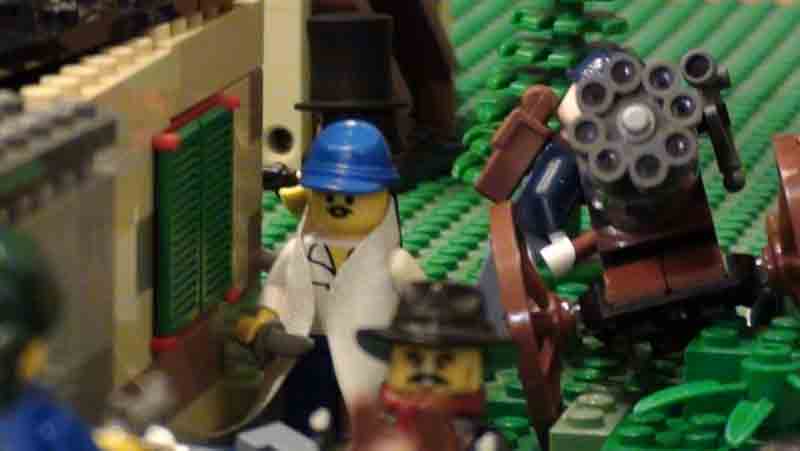
The British center, held by the Royal Marines with their artillery. My hero, an Irish sniper by the name of Hiram McAlistiar, is on the left.
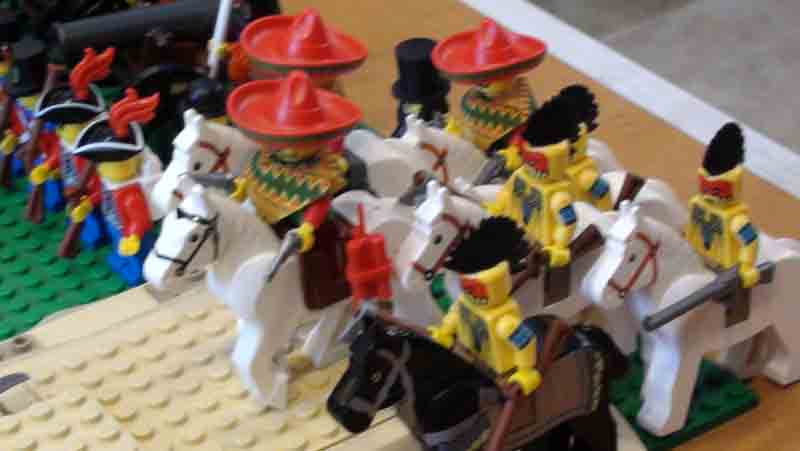
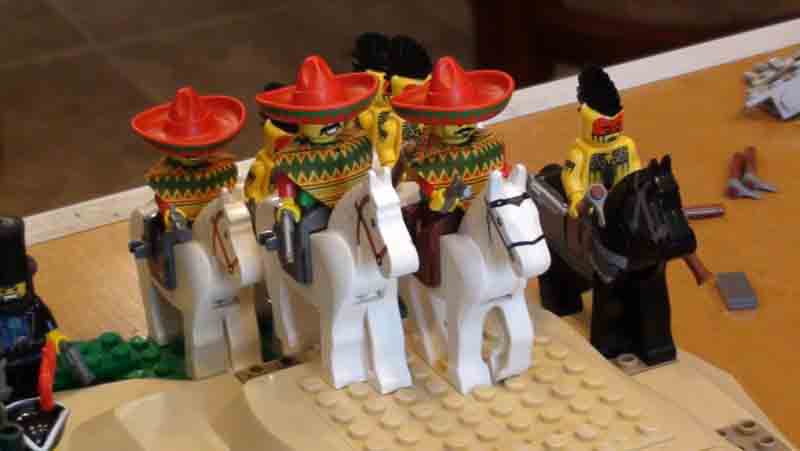
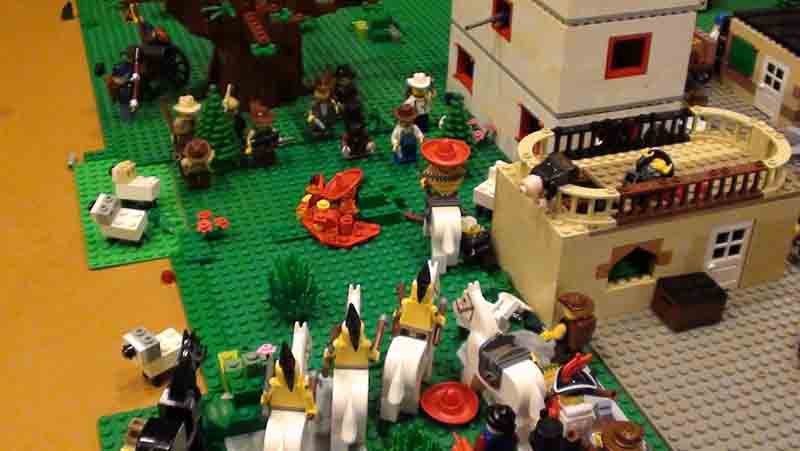
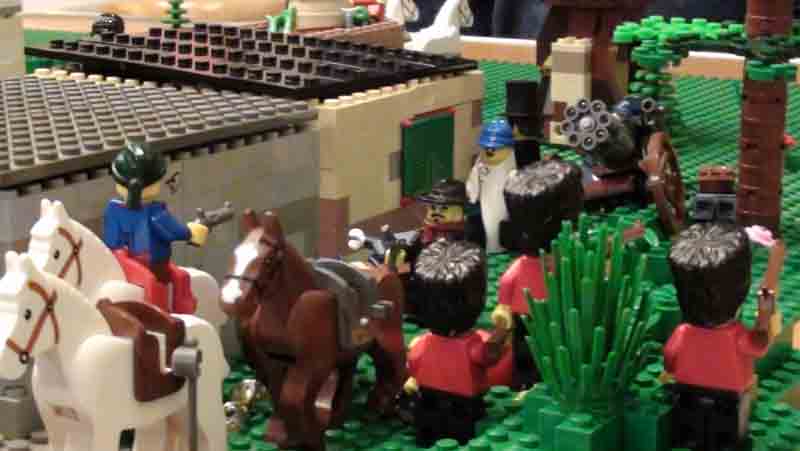
The British right is held by a group of Mexican and Indian horsemen who have joined the expedition.
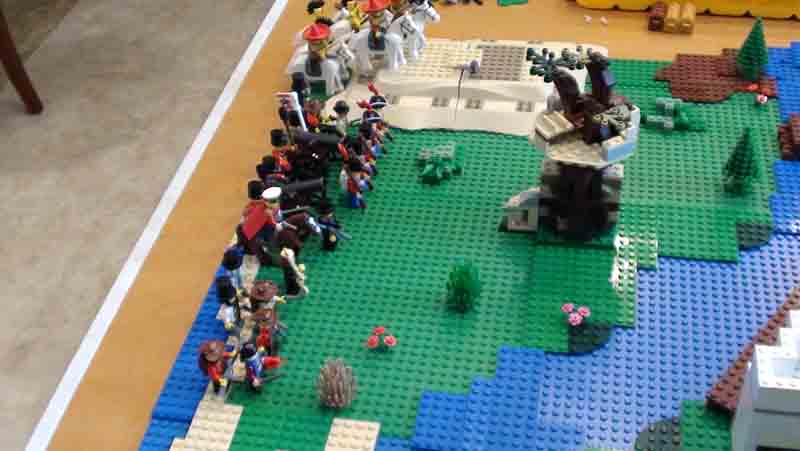
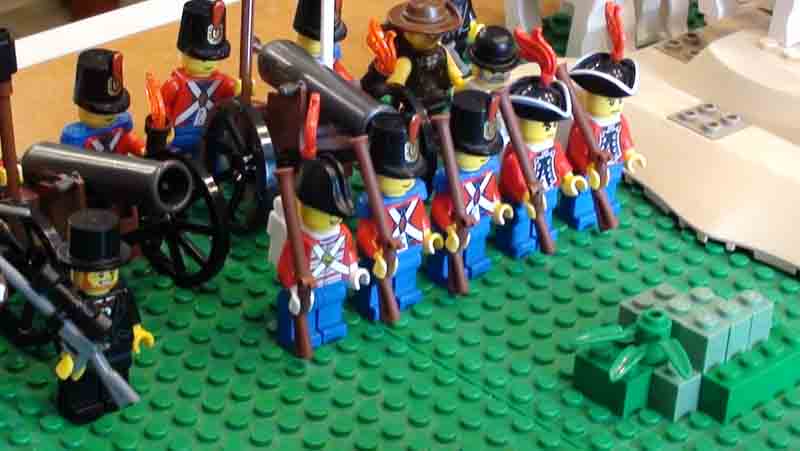
Overview of most of the British line.
The American Force
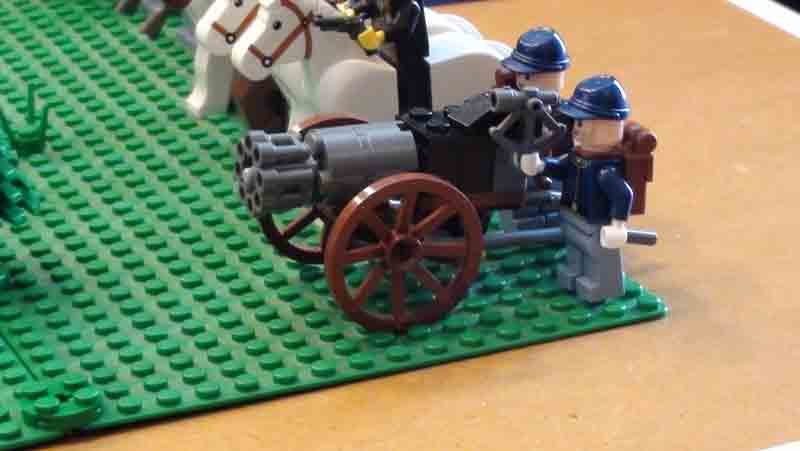
On the American left is a Gatling gun. This was a bit of a disappointment because it was slow and we made it too large so it had a hard time hitting minifig targets.
Looking down the American line.
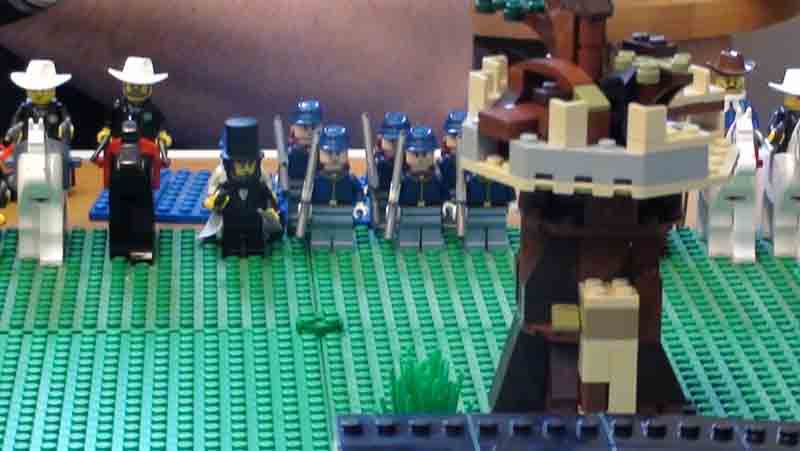
The American center.
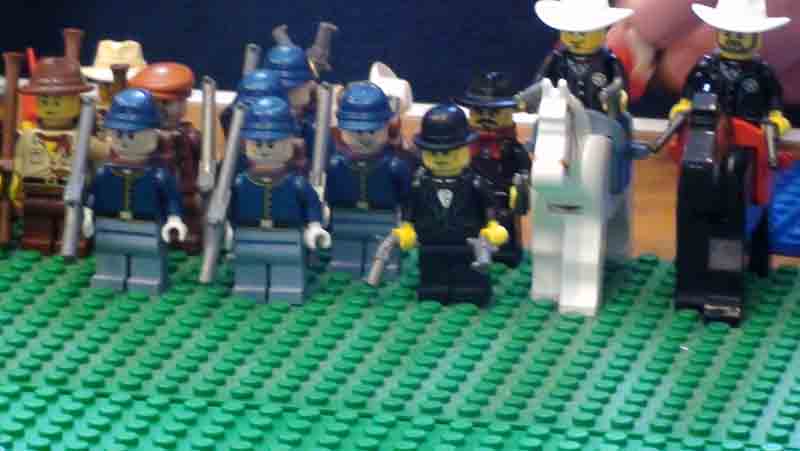
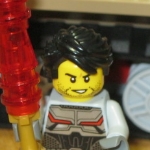
The American line, a little right of center. The U.S. hero is the gunslinger behind the bowler hat guy.
The Americans went first. This horseback militiaman got ridiculous sprint rolls and made it all the way to the building on the river.
Everyone else moves up.

The British force advances to the river.
Some sprint more than others.
The Scotsmen advance, to the sound of...
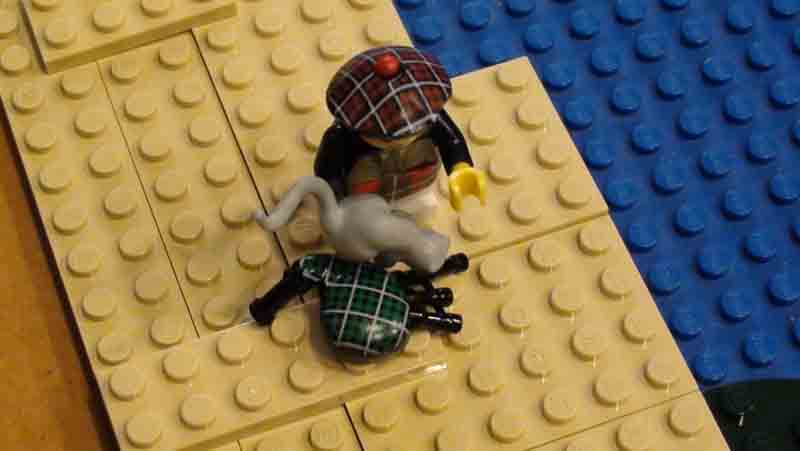
...a squeaking mouse?!?! The piper finds that a mouse found a cozy spot inside the bagpipes and must be removed before they can be used. (failed feat)
The first kill goes to the militiaman who made the amazing sprint roll who blows up a couple Canadians.
A cavalryman and a ranger attempt to shoot a Canadian's dynamite.
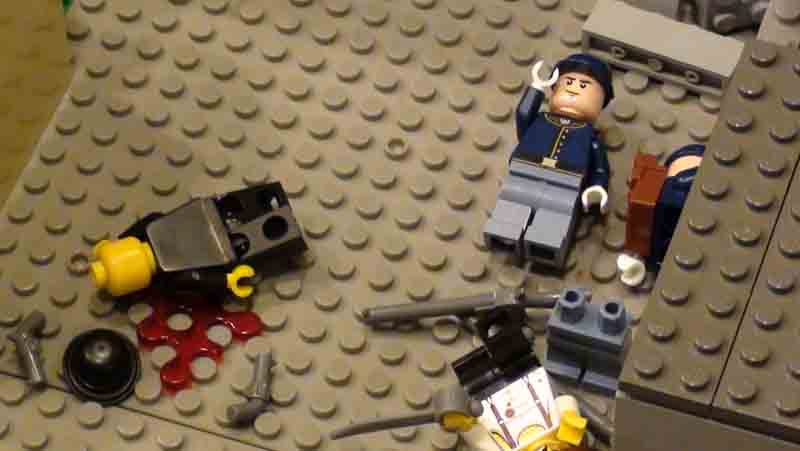
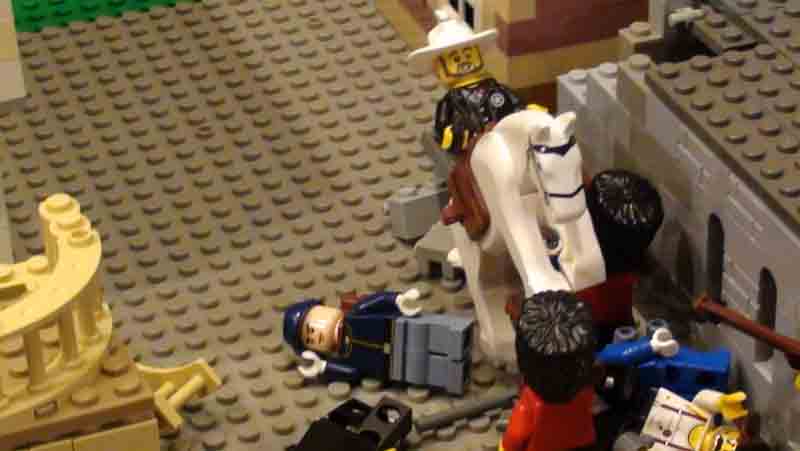
They fail however, and on the next turn get blown up for their trouble. Captain Henderickson rides up and is shot down.
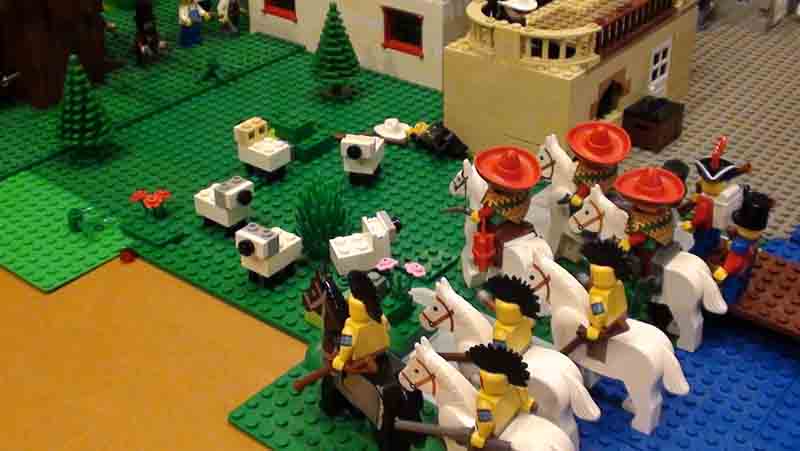
The Mexicans and Indians cross the river.
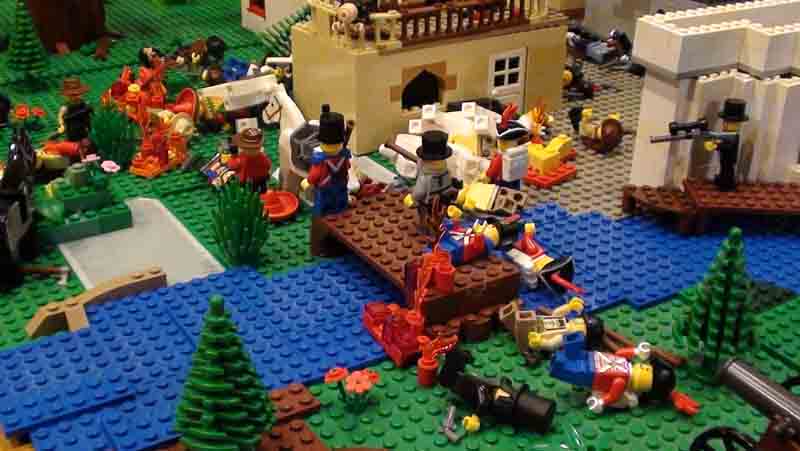
Some fall to rangers on the roof of the tan building. Several Royal Marines are killed just off camera by an artillery shell that also set the bridge on fire.
The American militiaman on the roof is shot.
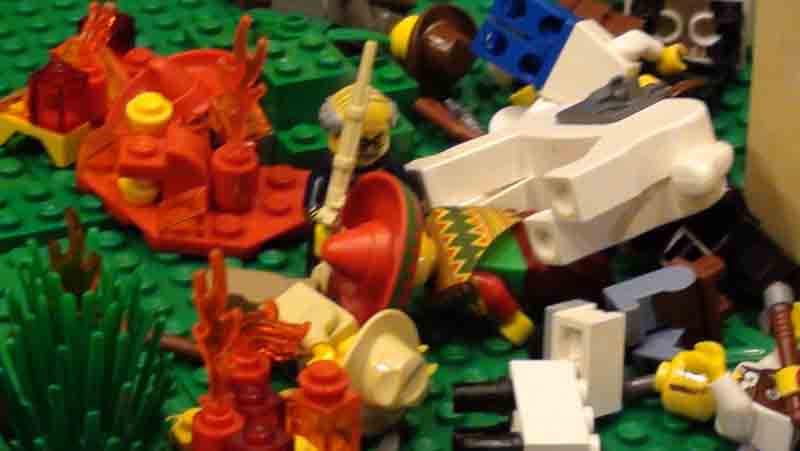
One of the Mexicans charges forward and attempts to throw a stick of dynamite, but is blown up himself before he can throw. The others advance and fire.
The Canadian dynamiteer slices a U.S. soldier in half with his sabers. Another soldier falls to Scotch gunfire and a militiaman is killed by my hero, hence the Brick Forge blood.
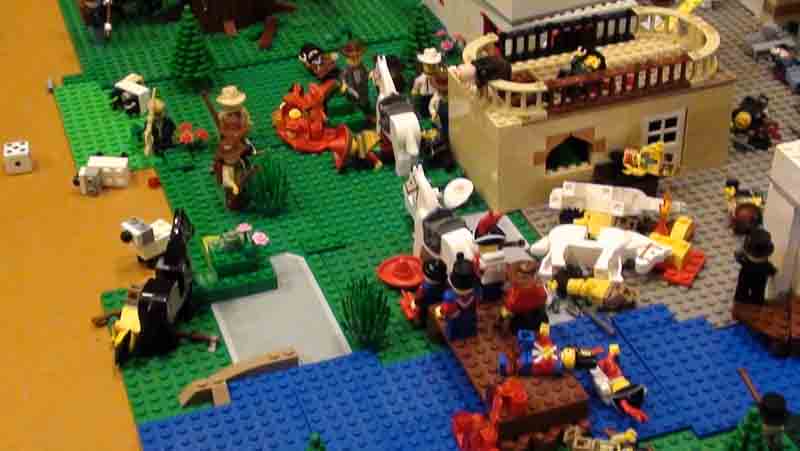
A well placed artillery shell slaughters the remaining Indians. The rangers on the roof fall to Royal Marine gunfire.
As the Scots Guards charge forward to bagpipe music, the Gatling gun shoots at everyone and misses everyone. A couple U.S. soldiers are shot.
A closeup of the Gatling gun. Even if it can't hit anything, it still looks cool.
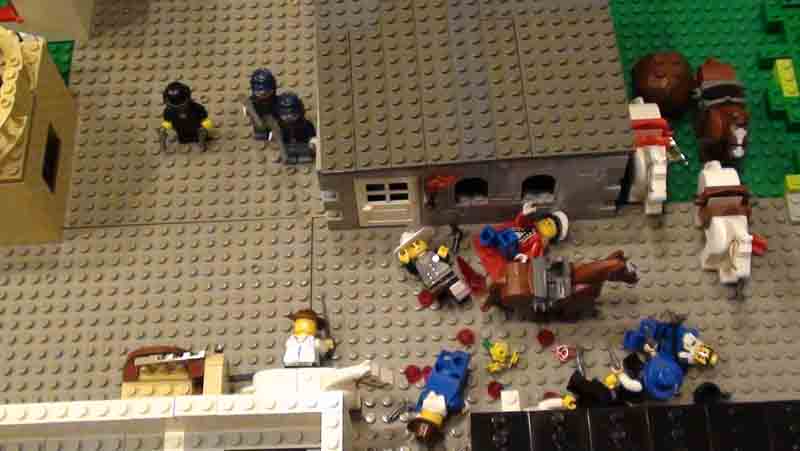
More casualties on both sides.
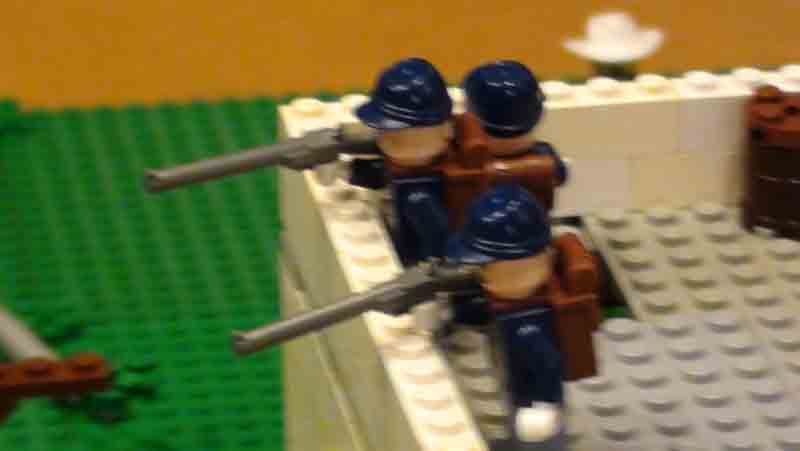
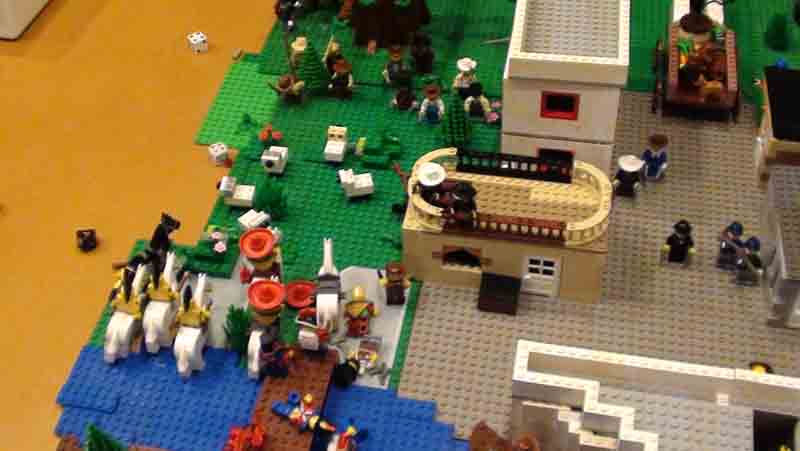
Some infantry who have been climbing stairs up to this point finally make it into the action as the cameraman shakes in fear.
My hero takes out another American militiaman.

A Royal Marine grabs a couple of tomahawks and hacks a militiaman to pieces.
And is promptly shot by this guy.
Overview from the British side. British numbers on this flank have thinned rapidly.
Guardsmen in the street trade fire with Americans on the roof of the white building. Abraham Lincoln is shot on the right. He will be healed and killed again several times before the battle is over.
The American hero gets behind the Gatling gun and has some more success with his higher skill.
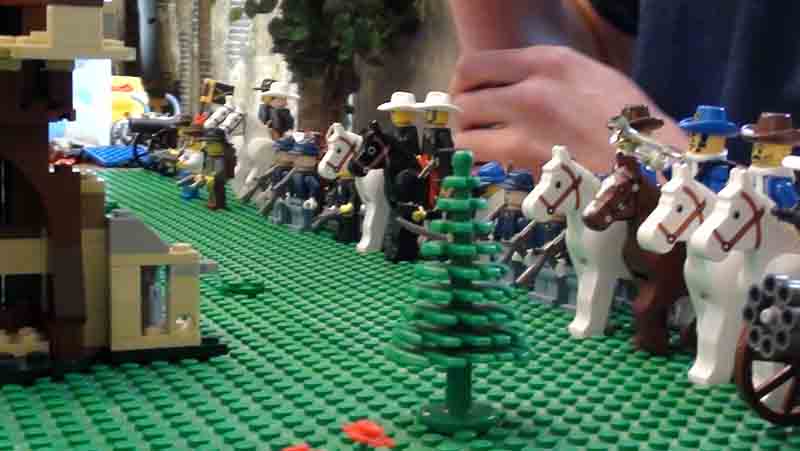
Semi-overview from the American side.
A Ranger charges in, trampling one Guardsman and shooting another with pistols.
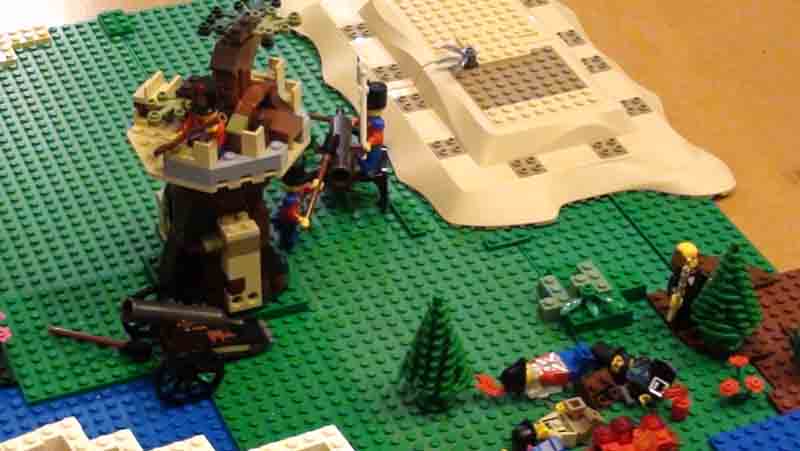
The remaining Americans on their right flank. These guys are about to be killed by a cannon shell. All the British on this side of the river on this flank are dead, including my hero.
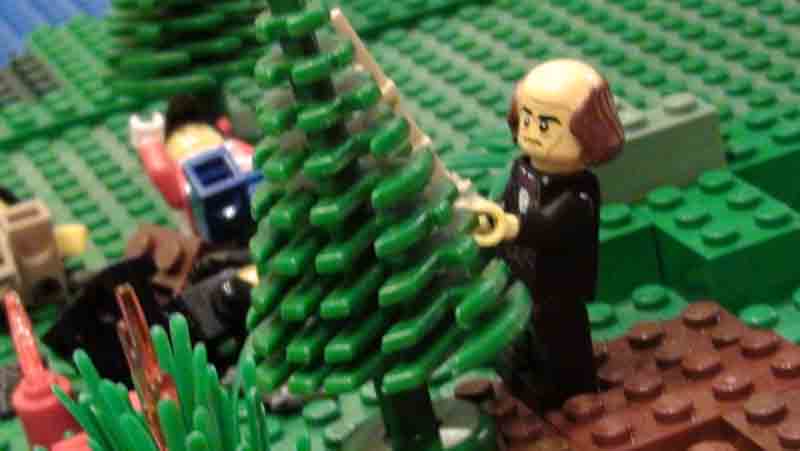
This guy killed two U.S. soldiers with one bullet on return fire. We decided that this display of epicness was a result of his great hair.
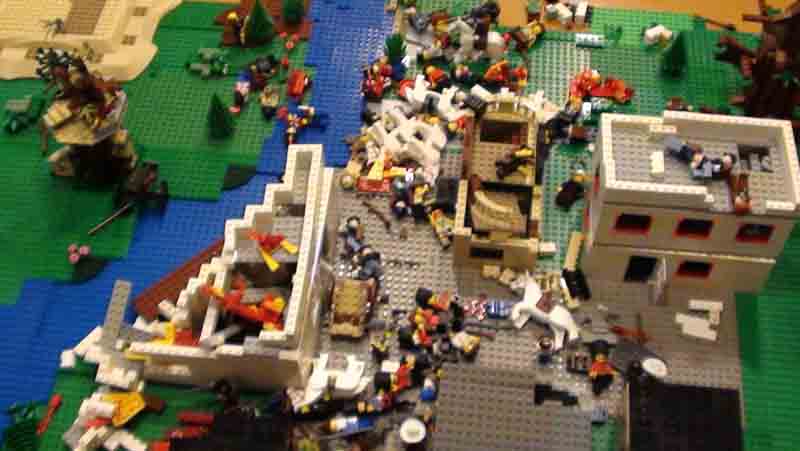
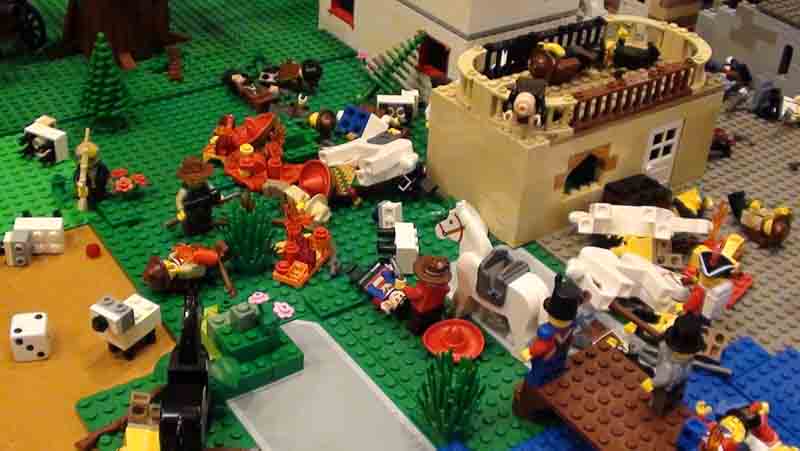
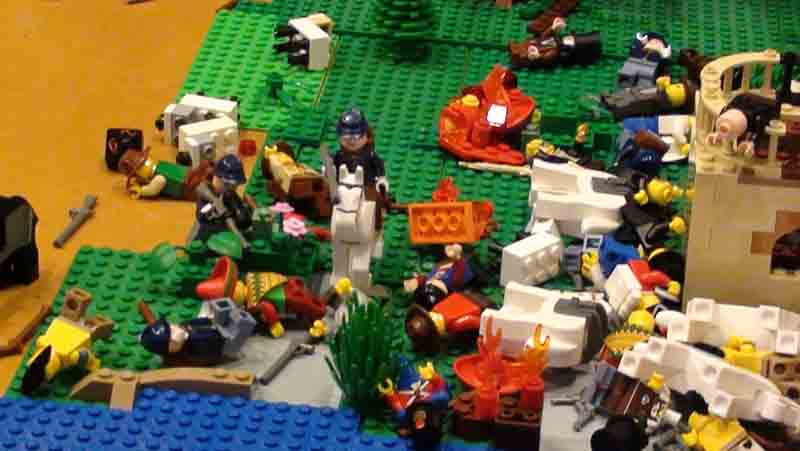
At this point I stopped taking as many pictures. In short, the American hero blew up four of my men (including my medik) with a stick of forgotten dynamite, the remaining Scotsmen fell one by one, always taking one of their enemies with them, the American medik healed half a dozen men, whose legless bodies, loaded into a cart for an assault across the river, and promptly destroyed by a British artillery shell.
Then we called the game because of time. The four surviving British troops are pictured here. The battle was declared an American victory because they had more men, as well as a live medik and most of the bodies.
Aftermath: Repulsed, the remaining British retreated under cover of darkness. Back home, with some of the more violent elements of their society killed off and the consolation of having greatly increased the body count from the first San Juan Pig War, the crown made a hasty peace, and American power in the region was secured.